I wish summers could last forever but they're always too short, so for my latest collaboration with Braintree Clothing I'll be capturing the essence of summer in a pressed flower project.
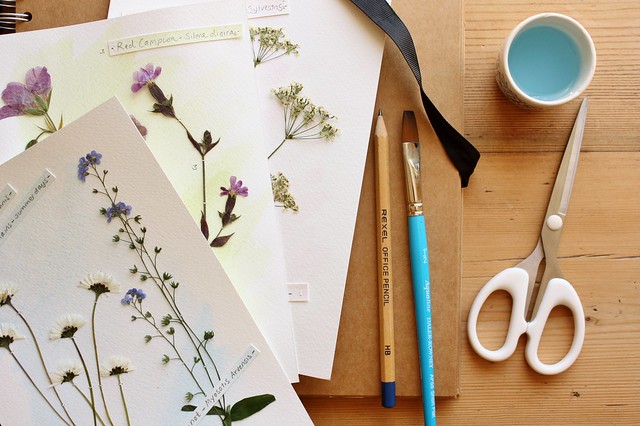
I was flicking through a book the other day and out fell
pressed pink Rose petals, which instantly took me back to a beautiful garden that
I visited a few summers ago. I must have put the petals in the pages of a book
I was reading at the time and had forgotten about them, until now.
Pressing flowers is an age old tradition, they are little
time capsules capturing summer, a day or a moment.
This is a really simple pressed flower project, creating
little studies / memories of each flower. Framed, they make lovely gifts, cards
or just hidden away to surprise you another day.
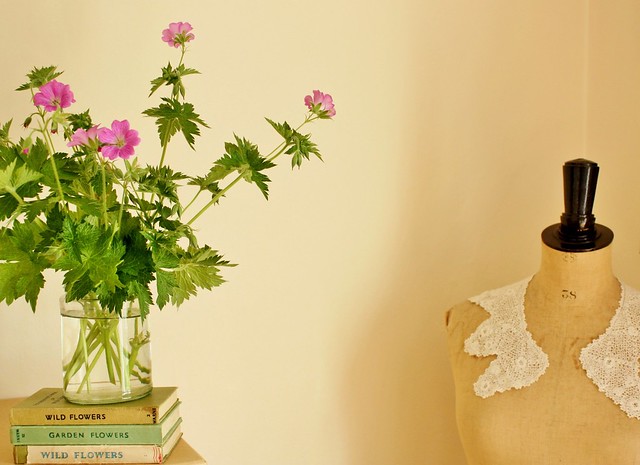
You will need:
Selection of flowers, grasses, leaves
Absorbent paper
Watercolour paper
Watercolour paints
Scissors
Pencil
Glue
Needle & thread
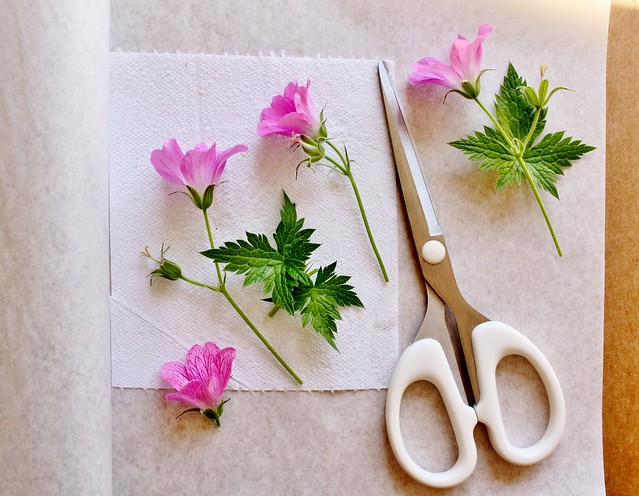
You can press a selection of flowers, petals, leaves, seed
heads and grasses. Make sure they are clean,
dry and free from bugs.
Carefully place a few chosen flowers in between absorbent lined
pages of a book. Close the book and add extra weight by stacking more books on top. It takes about
two weeks to press flowers.
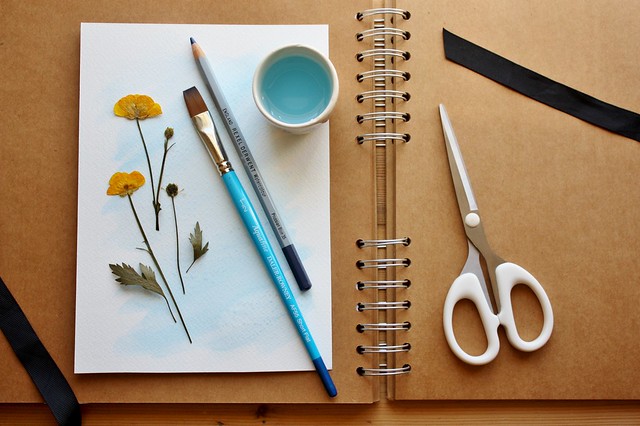
I’ve used A5 water colour paper, but you can use any size
you like. Give your paper a light wash of watercolour paint in a colour which
will work with your chosen flower. You could also use a tea stain for a vintage
look.
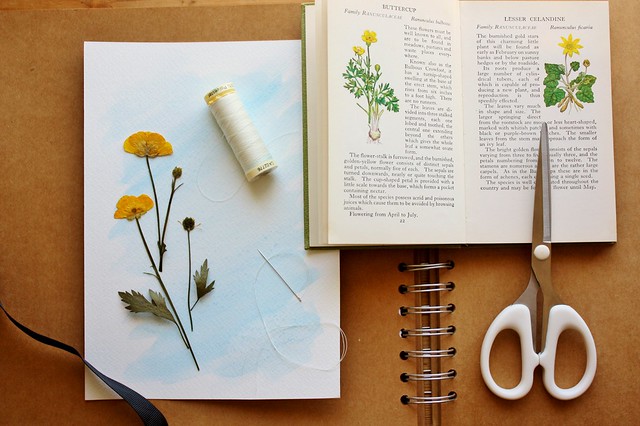
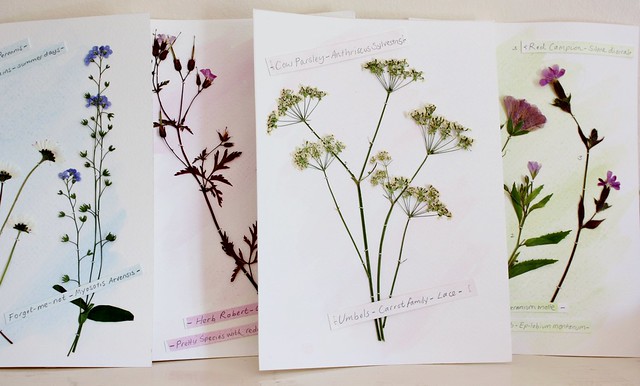
I like to stitch my flowers on to the paper rather than
using glue. Lay your flowers on to each page
and carefully stitch over the stems, just enough to attach it to the paper. Use a piece of tape on the back of each page to fasten off
the stitches.
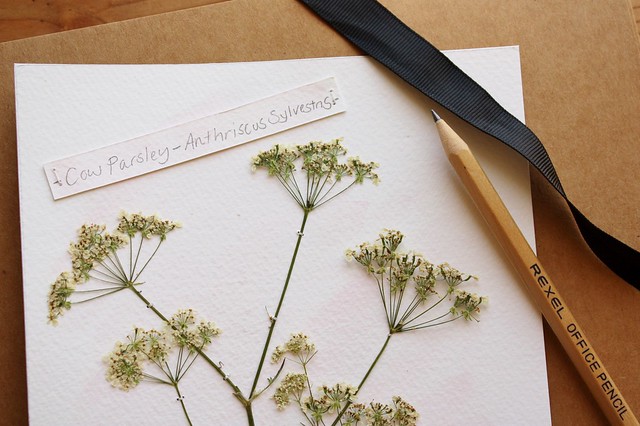
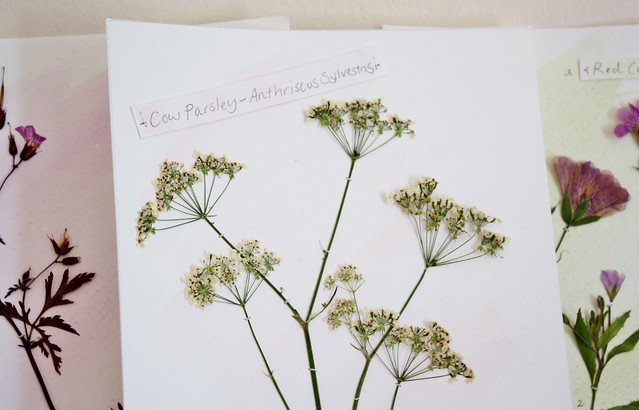
I’ve glued on little name tags including the Latin names and
short descriptions , but you could also add the date and place where you picked
the flowers.
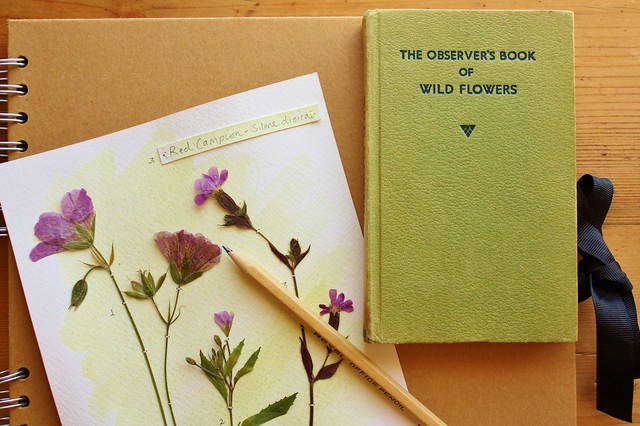
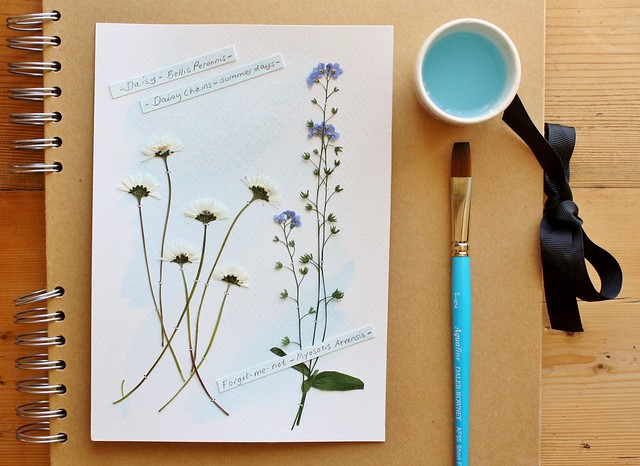
I think they look lovely. I can’t wait to frame them and then in the depths of winter I can remember that captured piece of summer.
I love this idea and definitely will give it a try.
ReplyDeleteGreat! let me know how you get on x
DeleteBeautiful!
ReplyDeleteI adore this DIY - the cow parsley is amazing!
ReplyDeleteThanks Natasha, the Cow Parsley is my favourite too x
DeleteThis is a really good idea.
ReplyDeleteI like it very much!
These are beyond pretty!!!
ReplyDelete