Sunday, 13 December 2015

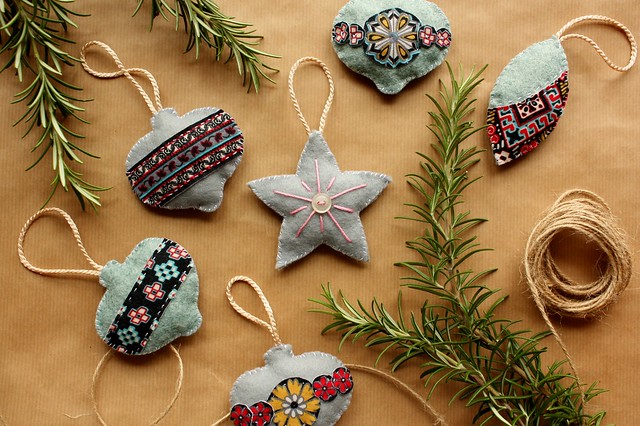
Handmade Christmas Decorations

found & sewn

I love making Christmas gifts and decorations, using my time instead of money to sew, bake or make unique handmade presents. They are always appreciated and beats contending with the Christmas shopping rush every time. 
found & sewn

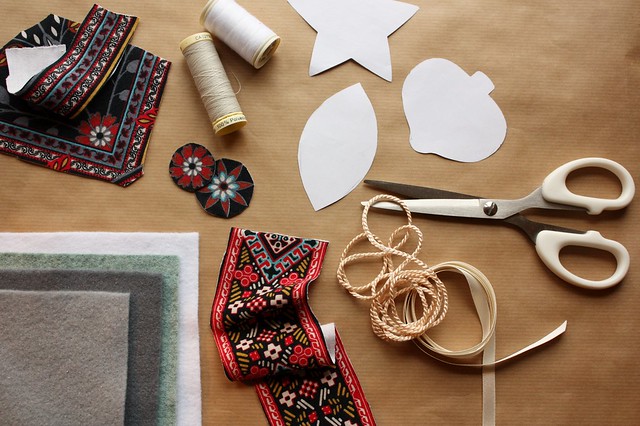
You will need:

found & sewn


Felt
Fabric scraps/buttons/beads etc..
Cotton thread and needle
Ribbon or cord for hanging
Toy stuffing or cotton wool
Scissors
Pen and paper

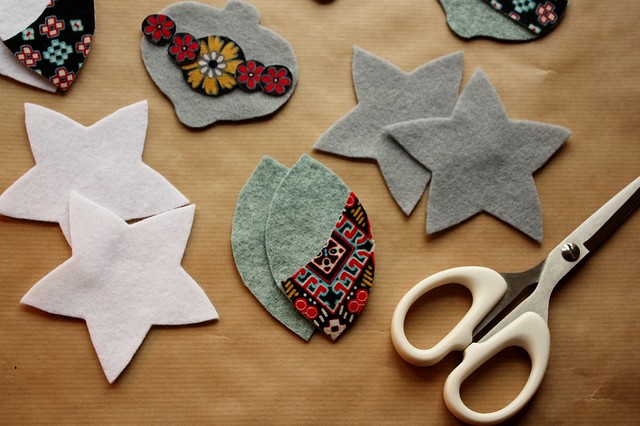
Step 1: Draw and cut: Draw out your Christmas decoration designs on to paper. I have chosen a vintage bauble, drop and star.
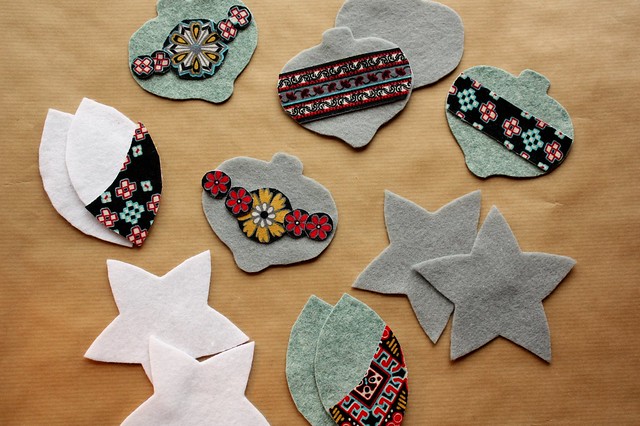
Cut these out and place on to the felt, mark around them in pen and carefully cut out 2 pieces for each decoration.

Step 2: Time to decorate. Take one piece of your felt decoration and sew on any embellishment you like; off cuts of fabrics, embroidery threads, buttons, beads and lace all look great.

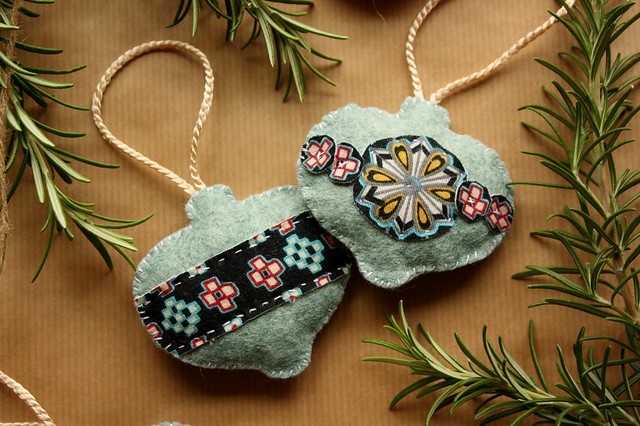
I have used some fabric samples from The Braintree Clothing team and cut out motifs from the design to create a vintage bauble effect.

found & sewn found & sewn

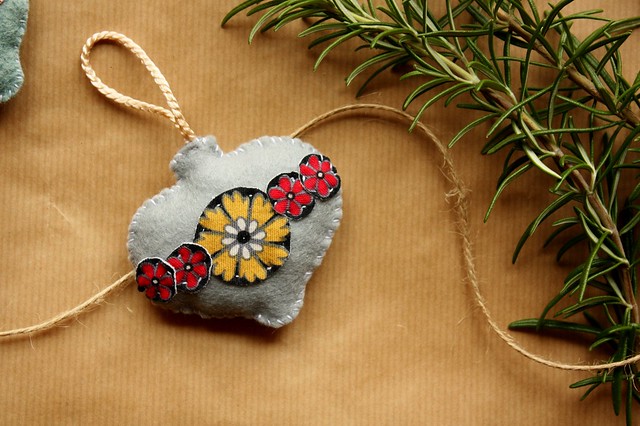
Step 3: Sew and Stuff.  Lay your embellished felt side (front side up) on to an identical plain piece, lining up the edges. Take a needle and thread and starting at the bottom of the decoration, sew around the perimeter using a whip stitch. Make sure the needle goes through both pieces of felt. I’ve use a contrasting white thread so the stitches are part of the design. When you reach the top, sandwich your hanging loop in between the two layers and stitch in place. Continue the whip stitch until you reach ¾ inch from the point where you began stitching.

Stuff the toy stuffing in the gap until the decoration is just padded but not too firm. Close the gap with a few whip stitches.

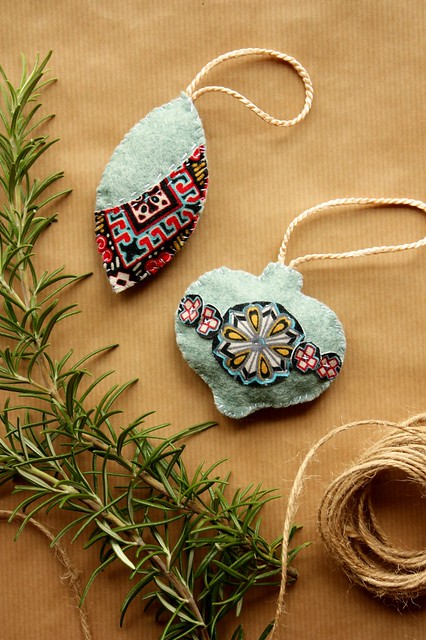
Repeat with the remaining felt pieces until you have enough to hang up on your tree or to give as Christmas gifts. 
  found & sewn

found & sewn

Thursday, 22 October 2015

Hot water bottle cover tutorial for Braintree Clothing

found & sewn

Now that the nights are drawing in, it’s tempting to stay indoors and keep cosy and warm with a good book.
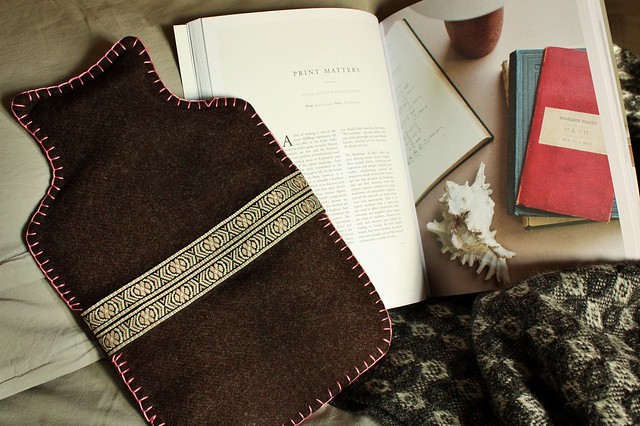
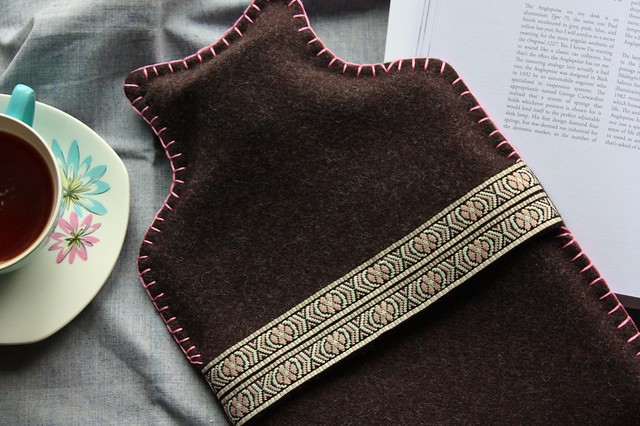
So to keep out the chill I’ve made this soft woollen hot water bottle cover, which is simply finished with a decorative trim and blanket stitched edge.


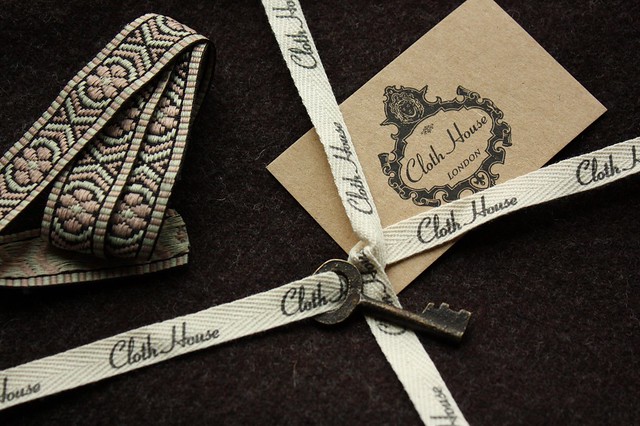
I bought my fabrics from the Cloth House in London. They have a beautiful range of materials and vintage trims to choose from. 

You will need:
Wool fabric
Cotton thread
Scissors
Pins
Sewing machine
Embroidery thread/needle
Trim
Paper
Iron

found & sewn

Step 1: Make the template:

found & sewn

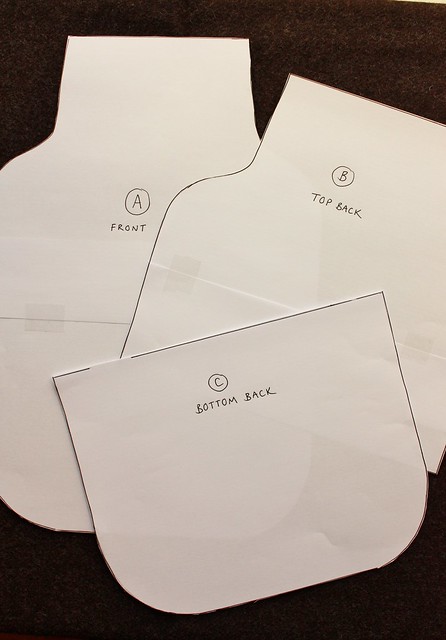
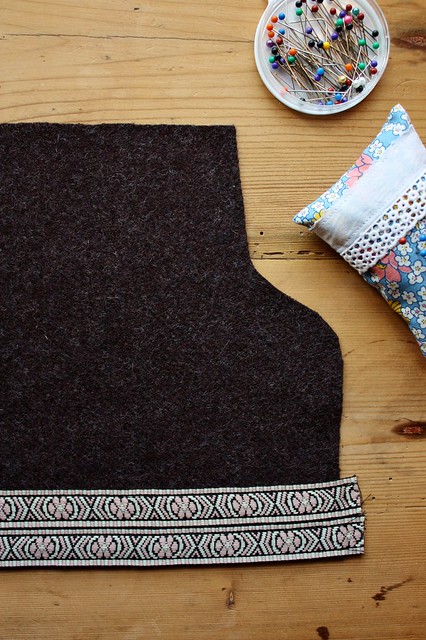
Make a paper template by tracing around your hot water bottle, adding an extra 6cm (approx) all the way round, this allows room for filling your cover with the hot water bottle and seam allowance. Make three copies of this same template. The first (A) will be the front. The second (B) cut off the bottom by 12cm to create the back top template. The third (C) cut off the top by 17cms to create the back bottom template. These two pieces will make up the back opening of the cover.

Step 2: Cut out your patterns:
found & sewn

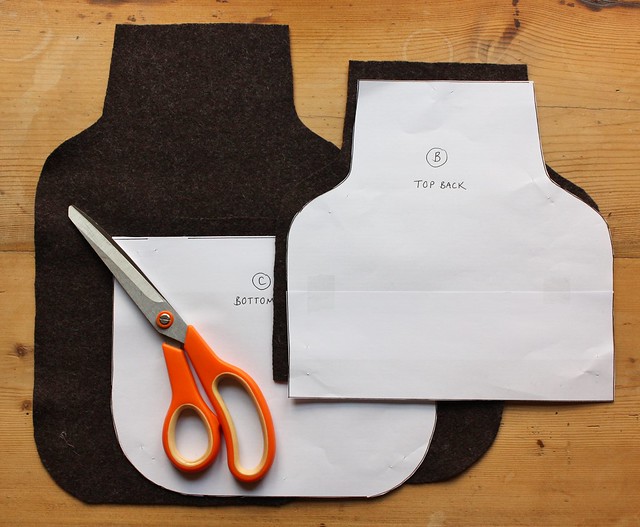
Lay and pin your templates onto your wool - I've used this lovely aubergine brown wool from the Cloth House.


Cut out all three pieces. 

Step 3: Sew: 

found & sewn

Press and pin a 1 cm fold along the straight edges of pieces B and C.

Sew down these folds.

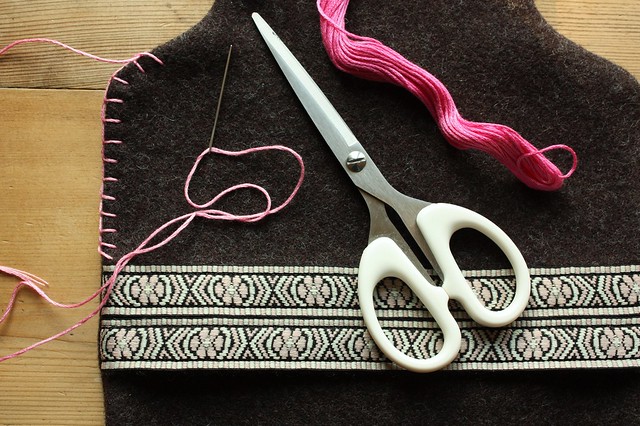
On the front edge of piece B sew on your trim. 

Step 4: Sew together:

Place piece (A) front side facing up, then lay  (B) on top and then lay piece (C) on top of (B) facing down with right sides together and  all outer edges aligned. Pieces (B) and (C) should overlap by about 3/4cms.

This will become the opening of the cover.

Pin all the edges together.

Sew the layers together around the pinned edges with a ½ cm seam allowance.

Out of the curved sections cut little notches and snip off the corners for a neat edge when turned out.

Turn the entire piece inside out by using the opening.

Press the piece flat.

Step 5: Embroider:

found & sewn

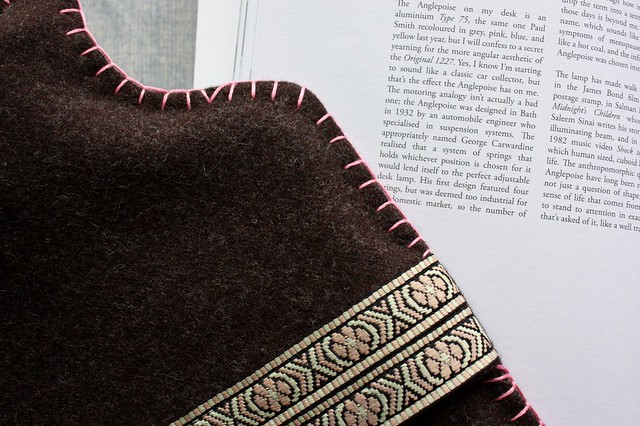
I've used a contrasting pink embroidery thread which looks great with the wool I've chosen.

Using the embroidery thread sew around the edge of the cover using a blanket stitch. Make sure you sew through all the layers. Don't worry if this isn't perfect, it all adds to the handmade charm.


Your hot water bottle cover is now ready to use.  Simply fill your hot water bottle and insert it into the opening. 

found & sewn

found & sewn

Have a go at this project and share your pictures. Just tag your photos on Instagram with the hashtag #BThoughtful_Makes and the user names @btreeclothing and @foundandsewn. 

Friday, 9 October 2015

Autumn days

found & sewn

I love this time of year, don't you. I'm working on another great sewing tutorial which is perfect for these bright chilly Autumn days. I really hope you like it. I'll be posting it in the next couple of weeks.

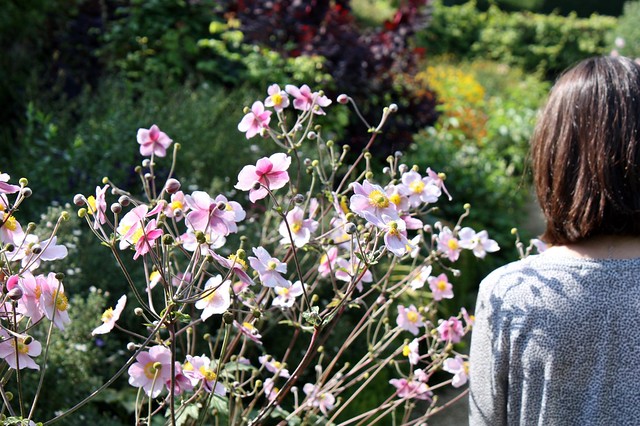
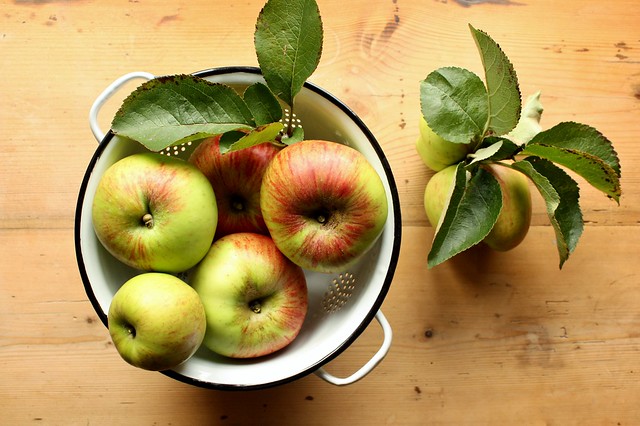
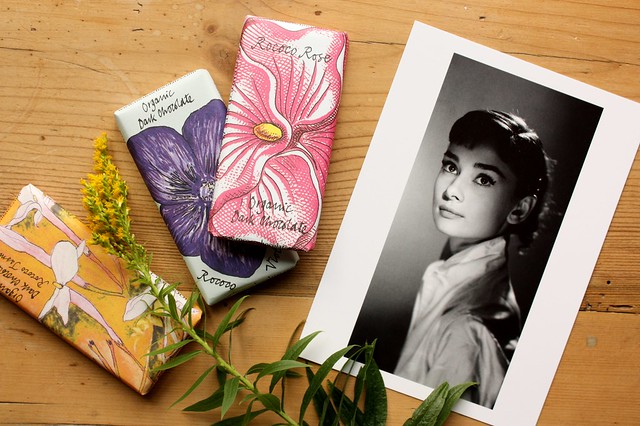
I had last week off work for my birthday and I made the most of the sunshine by visiting secret gardens, these pale pink anemones are so pretty. Catching up with friends, long countryside walks, picking apples and blackberries to make crumbles. I spent a couple of days in London with my boyfriend, we stayed at the gorgeous Artist Residence boutique hotel in Pimlico. It was so nice I hardly wanted to leave, but we were tempted out by, the most delicious breakfast at 26 Grains in Covent Garden, walking along the Thames to Borough Market for doughnuts and to visit the National Portrait Gallery.  to see the Audrey Hepburn exhibition. 

I hope you are enjoying October too.

found & sewn found & sewn found & sewn found & sewn

Tuesday, 1 September 2015

Envelope cushion cover tutorial

found & sewn

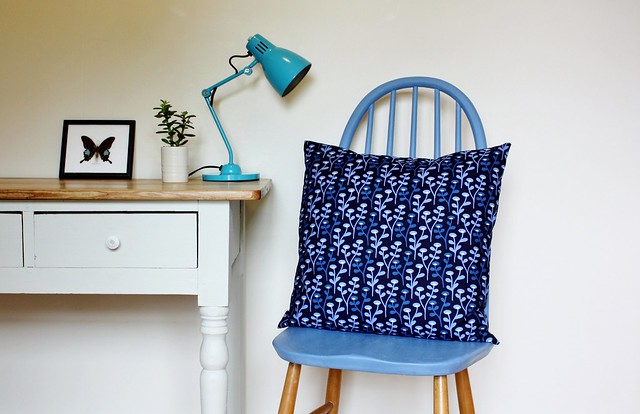
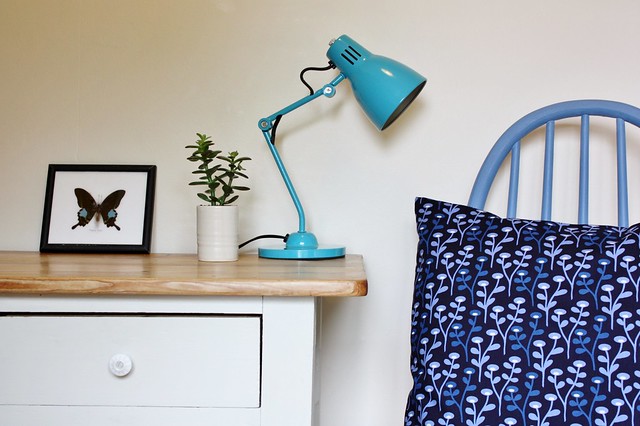
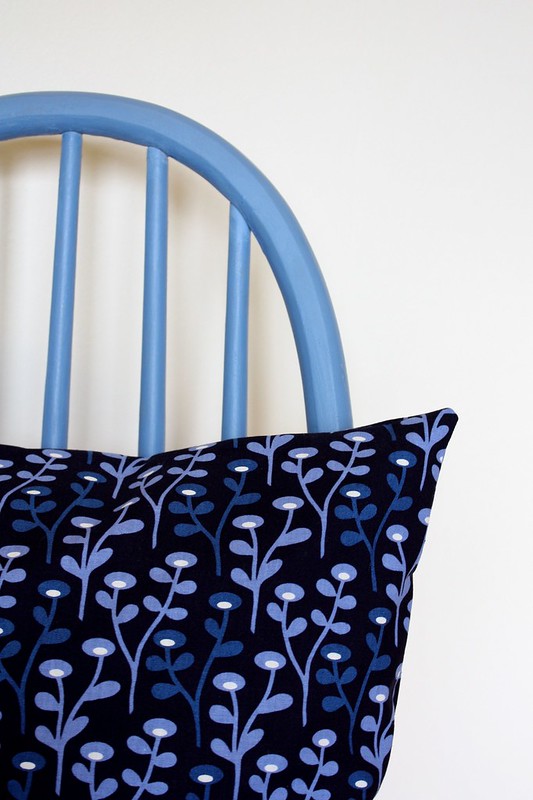
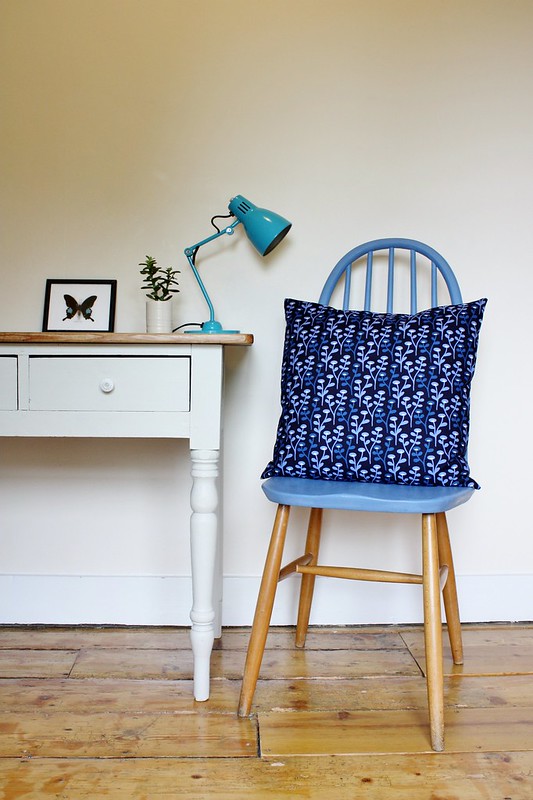
I painted a wooden chair for my sewing room a few years ago and I still love it today, but I thought it needed updating so I decided to make a new cushion cover for it. I bought a lovely cotton, Copenhagen print fabric from my local haberdashery, which looks great with the Annie Sloane cornflower blue chalk paint, which I used to paint the chair back and seat. I then finished it off with a clear wax.

I bought my chair at a local flea market for next to nothing and the quality is great. There are some amazing vintage/collectors fairs across the country where you can find some great pieces of furniture, which just need a bit of TLC to bring them back to life. A clean and polish, or a lick of paint to make them into something you will love and cherish.

found & sewn

Here are a few of my tips flea market tips:

Arrive early to see the best stuff. Bring cash, dealers very rarely accept cards. Bring a tape measure, nothing worse than finding out something is too big for your space at home. Look in boxes, the best stuff isn't always on show. Don't rush, take your time to inspect items thoroughly. Bring snacks, or you will resort to that greasy burger van.  Know your price, so you don't pay over the odds for a piece you love.  Have fun, I love just looking around, even if I don't buy anything.
If buying  wooden pieces check for live woodworm (small holes with dust, It can be easily treated if you love the item) Pick things up, look underneath, check legs, arms, hinges and spindles.

Check out this site, www.iacf.co.uk  to find your local fair and let me know if you grab a bargain!


I made a quick and simple envelope cushion cover for my painted chair, which has two overlapping panels so you can easily remove the cushion pad. 

You will need:
Square cushion pad
Fabric
Matching sewing thread
Scissors
Pins
Sewing machine
Tape measure
Iron

How to:

Step 1:
Cut one front panel the width and depth of your cushion pad. I’m using a 50x50cm cushion pad.
Next you need to work out the measurements for the two back panel pieces. The first measurement is the depth of your cushion pad. The next is the width, 2/3 the width of your cushion pad plus 2cm for a hem. Cut 2 pieces of fabric to these measurements  for your back panels.
I cut one 50x50cm front panel piece and two 50x35cm back panel pieces

Step2: 

found & sewn


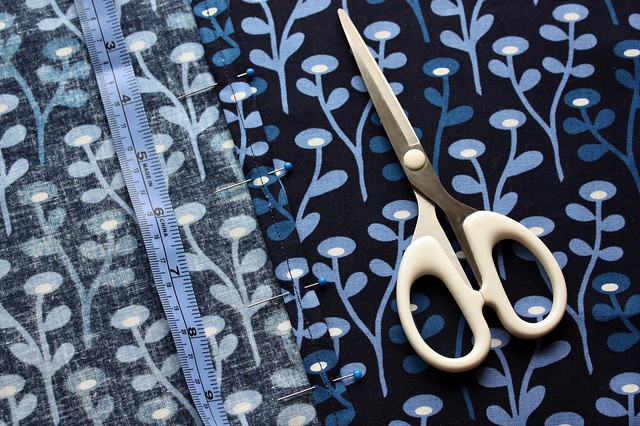
Fold and pin a 1cm double hem along one of the 35cm edges of each back panel. Machine stitch. 
This will become the opening.

Step 3:

found & sewn

Place the completed front panel face upwards and place one back panel, face down, along each side edge repeat with the second back panel.

Line up the raw edges, pin and machine stitch all around the outside edges, leaving a 1cm seam. 

Step 4:
With a pair of scissors snip off the excess material on each corner for a sharp finish and turn right side out. Give your finished cushion cover a press and insert the pad through the back opening and you're done.


found & sewn

found & sewn

Saturday, 11 July 2015

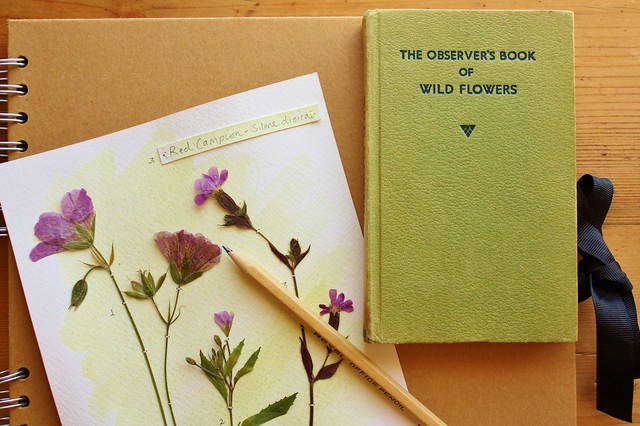
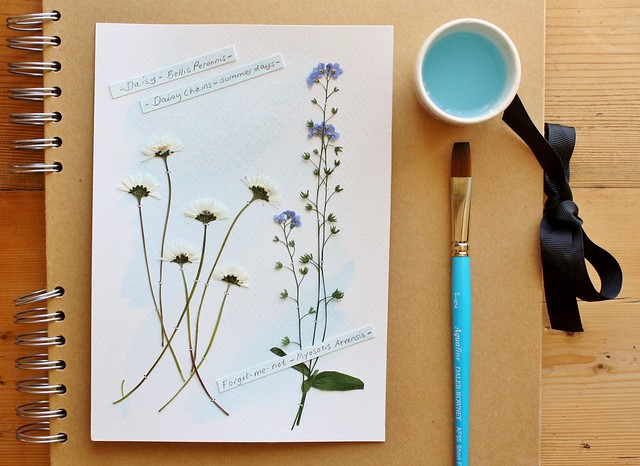
capturing summer- A pressed flower project

 
I wish summers could last forever but they're always too short, so for my latest collaboration with Braintree Clothing I'll be capturing the essence of summer in a pressed flower project.

found & sewn

I was flicking through a book the other day and out fell pressed pink Rose petals, which instantly took me back to a beautiful garden that I visited a few summers ago. I must have put the petals in the pages of a book I was reading at the time and had forgotten about them, until now.

Pressing flowers is an age old tradition, they are little time capsules capturing summer, a day or a moment.

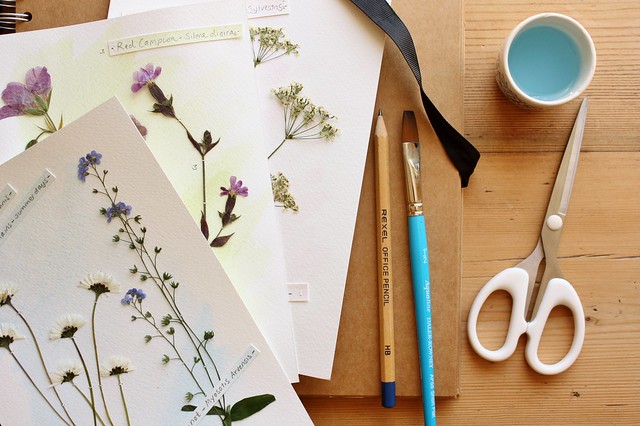
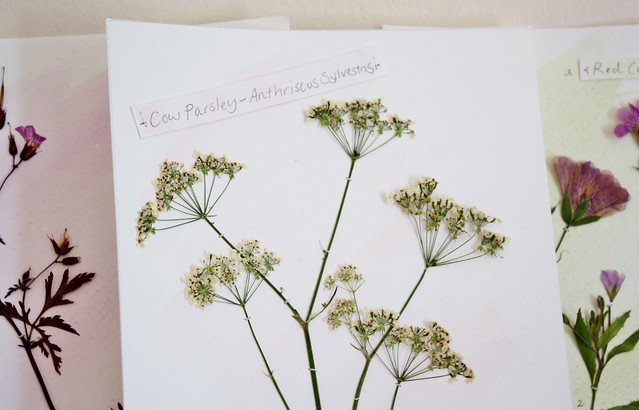
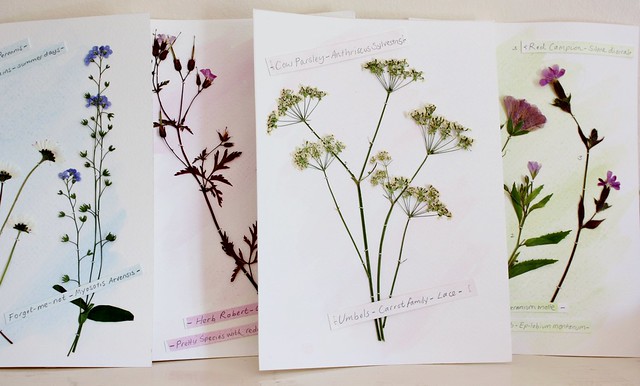
This is a really simple pressed flower project, creating little studies / memories of each flower. Framed, they make lovely gifts, cards or just hidden away to surprise you another day. 

found & sewn

You will need:

Selection of flowers, grasses, leaves
Absorbent paper
Watercolour paper
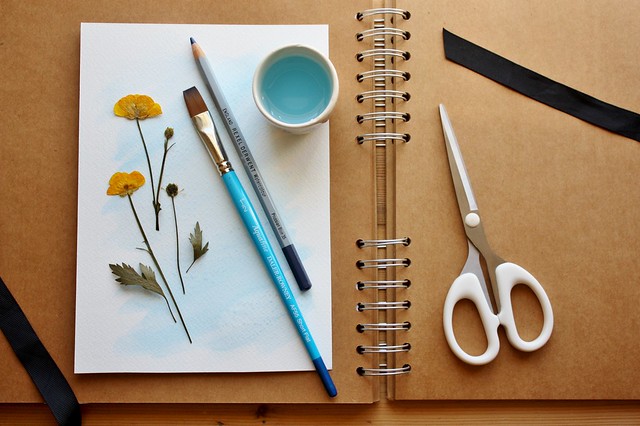
Watercolour paints
Scissors
Pencil
Glue
Needle & thread

found & sewn

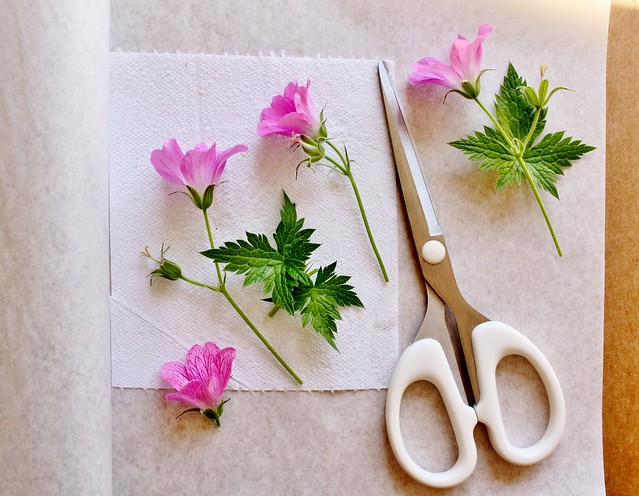
You can press a selection of flowers, petals, leaves, seed heads and grasses.  Make sure they are clean, dry and free from bugs. 
Carefully place a few chosen flowers in between absorbent lined pages of a book. Close the book and add extra weight  by stacking more books on top. It takes about two weeks to press flowers.

found & sewn


I’ve used A5 water colour paper, but you can use any size you like. Give your paper a light wash of watercolour paint in a colour which will work with your chosen flower. You could also use a tea stain for a vintage look. 

found & sewn

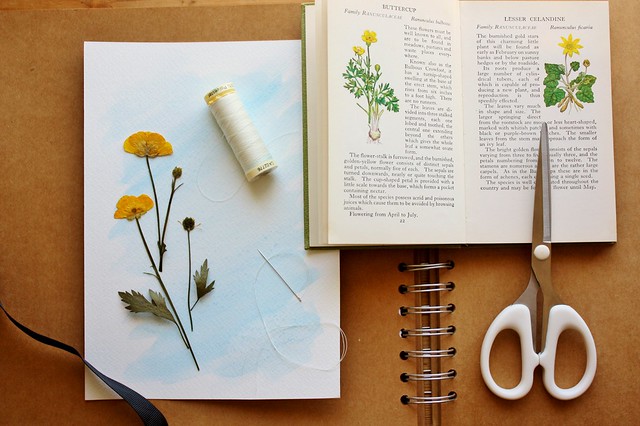
I like to stitch my flowers on to the paper rather than using glue.  Lay your flowers on to each page and carefully stitch over the stems, just enough to attach it to the paper. Use a piece of tape on the back of each page to fasten off the stitches.

found & sewn

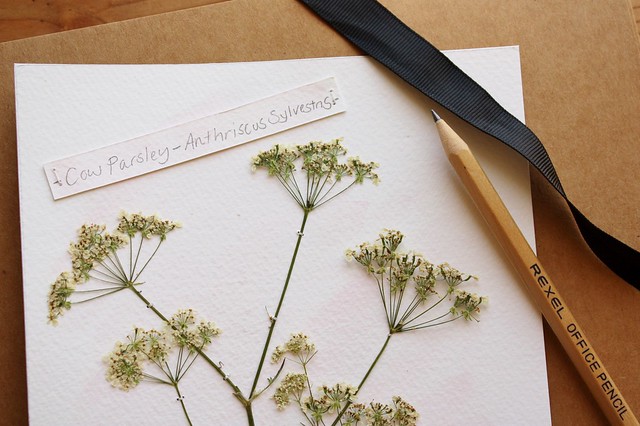
I’ve glued on little name tags including the Latin names and short descriptions , but you could also add the date and place where you picked the flowers.

found & sewn

found & sewn

I think they look lovely. I can’t wait to frame them and then in the depths of winter I can remember that captured piece of summer. 

found & sewn

found & sewn

Thursday, 25 June 2015

north cornwall coast


  found & sewn

We spent a lovely week in North Cornwall. We were staying in a little converted barn on a small holding near St Agnes. It was right on the coastal path, so we could step out the front door, down a hawthorn track, over the heather covered moors and on to the sea. The Sea was just magical! One of our favourite beaches was called Chapel Porth which also had a friendly cafĂ© serving crab sandwiches and homemade ice creams.

found & sewn

found & sewn

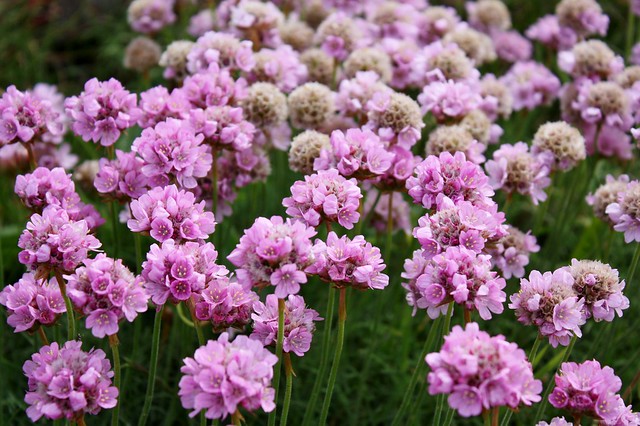
The coastal path was lined with these pretty pink flowers called Thrift, we walked seven miles to Trevaunance Cove, in St Agnes. which was beautiful.

found & sewn

found & sewn

found & sewn

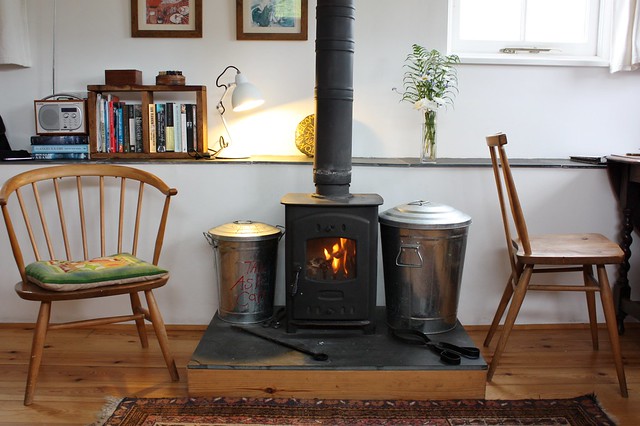
We loved lighting this little log burner every evening and cooking dinner as the wind and rain rolled in off the sea.

found & sewn

found & sewn

found & sewn

St Agnes was a great base to explore North Cornwall. We spent a day in St Ives, visiting the Tate and watching the surfers, lunch at The Fish Kitchen in Port Isaac, fish & chips at the famous Stein's in Padstow, took the ferry to Trelissick house and gardens, walked along the estuary at Crantock and had a picnic on the sand dunes, walked along the coastal path to No4 Peterville and had the most delicious dinner. I've just realised that our holiday mainly consisted of walking and eating...well they are my two favourite things.

found & sewn

found & sewn

found & sewn

found & sewn

Saturday, 13 June 2015

oxford

found and sewn

A sunny Sunday afternoon and a quiet meander through some of Oxfords pretty back streets.
I hope you've had a good week and have some nice things planned for the weekend.
A few nice things from my week;

I've been really enjoying the BBC Four series 'what do artist do all day'

Making this delicious Beets and Greens tart from the Green Kitchen Stories website. I can't wait to give this Mocha black bean mousse cake a go, looks delicious!

Gathering bedroom decor inspiration on Pinterest . Here's a snap of a corner of our bedroom so far.

found and sewn

found and sewn

found and sewn

found and sewn

found and sewn

found and sewn