Showing posts with label handmade. Show all posts

Sunday, 13 December 2015

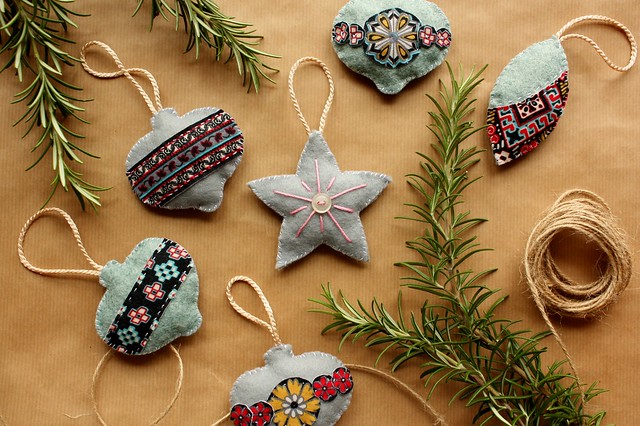
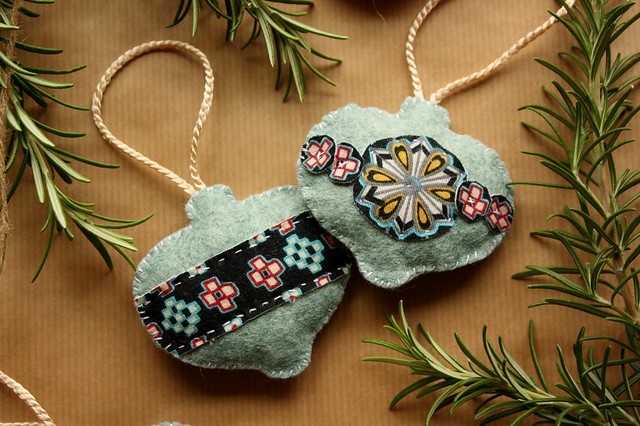
Handmade Christmas Decorations

found & sewn

I love making Christmas gifts and decorations, using my time instead of money to sew, bake or make unique handmade presents. They are always appreciated and beats contending with the Christmas shopping rush every time. 
found & sewn

You will need:

found & sewn


Felt
Fabric scraps/buttons/beads etc..
Cotton thread and needle
Ribbon or cord for hanging
Toy stuffing or cotton wool
Scissors
Pen and paper

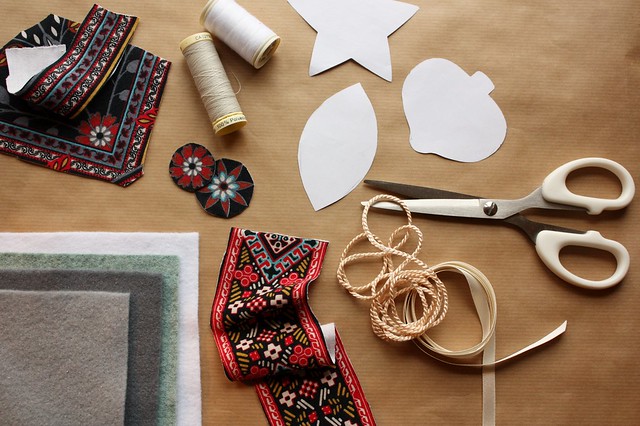
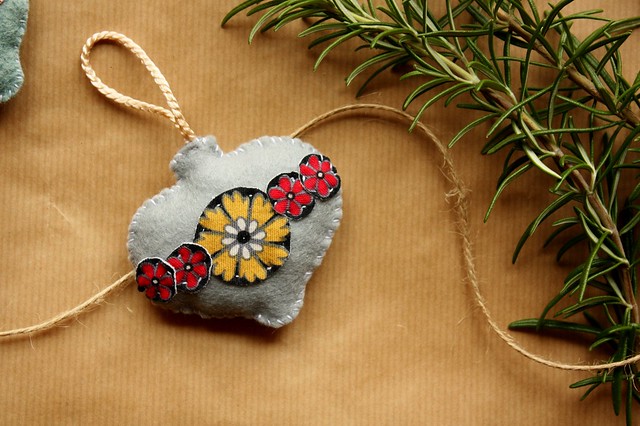
Step 1: Draw and cut: Draw out your Christmas decoration designs on to paper. I have chosen a vintage bauble, drop and star.
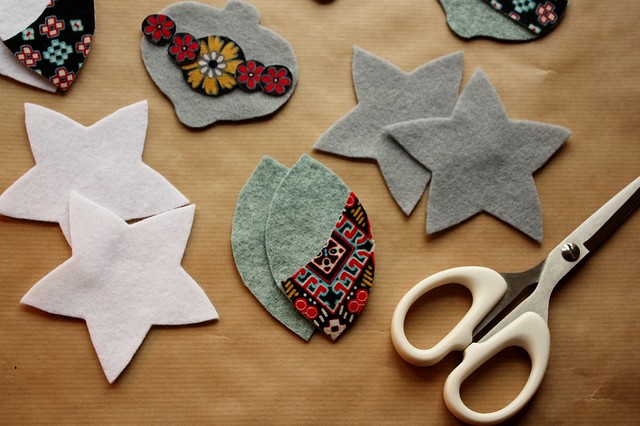
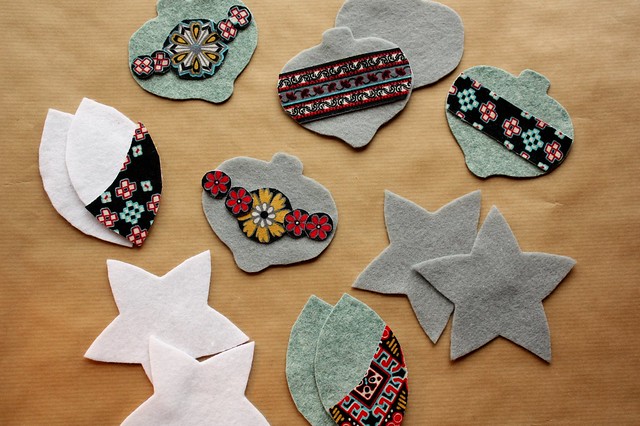
Cut these out and place on to the felt, mark around them in pen and carefully cut out 2 pieces for each decoration.

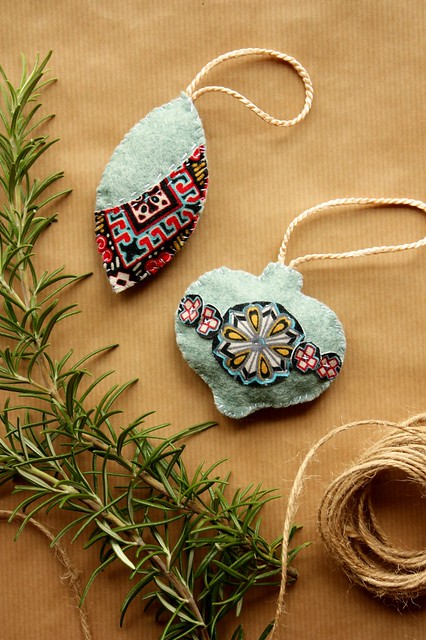
Step 2: Time to decorate. Take one piece of your felt decoration and sew on any embellishment you like; off cuts of fabrics, embroidery threads, buttons, beads and lace all look great.

I have used some fabric samples from The Braintree Clothing team and cut out motifs from the design to create a vintage bauble effect.
found & sewn found & sewn

Step 3: Sew and Stuff.  Lay your embellished felt side (front side up) on to an identical plain piece, lining up the edges. Take a needle and thread and starting at the bottom of the decoration, sew around the perimeter using a whip stitch. Make sure the needle goes through both pieces of felt. I’ve use a contrasting white thread so the stitches are part of the design. When you reach the top, sandwich your hanging loop in between the two layers and stitch in place. Continue the whip stitch until you reach ¾ inch from the point where you began stitching.

Stuff the toy stuffing in the gap until the decoration is just padded but not too firm. Close the gap with a few whip stitches.

Repeat with the remaining felt pieces until you have enough to hang up on your tree or to give as Christmas gifts. 
  found & sewn

found & sewn

Thursday, 22 October 2015

Hot water bottle cover tutorial for Braintree Clothing

found & sewn

Now that the nights are drawing in, it’s tempting to stay indoors and keep cosy and warm with a good book.
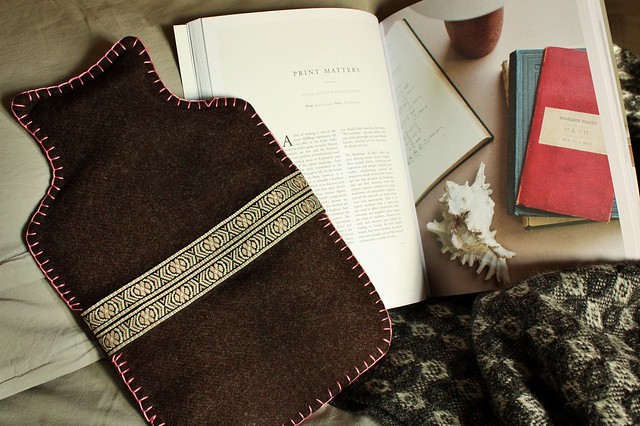
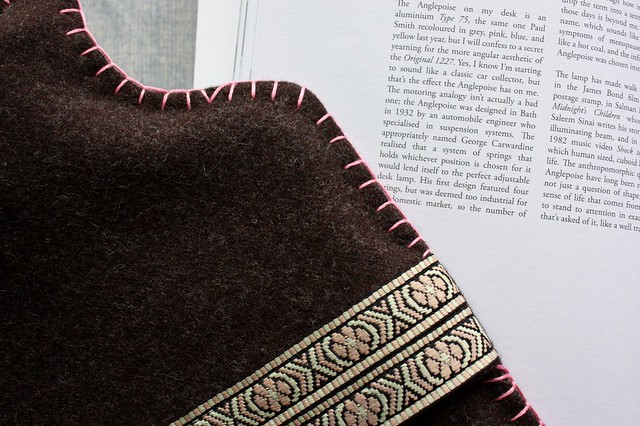
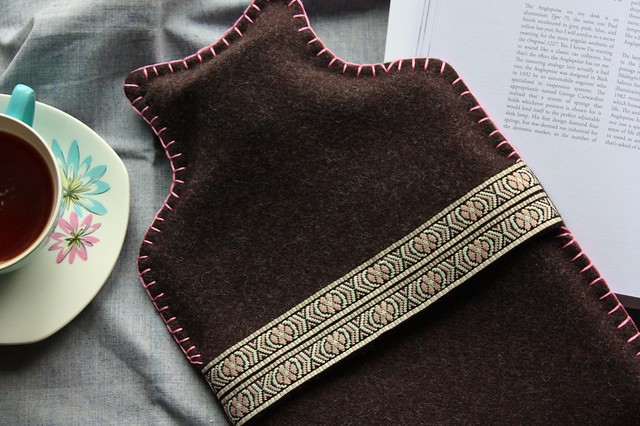
So to keep out the chill I’ve made this soft woollen hot water bottle cover, which is simply finished with a decorative trim and blanket stitched edge.


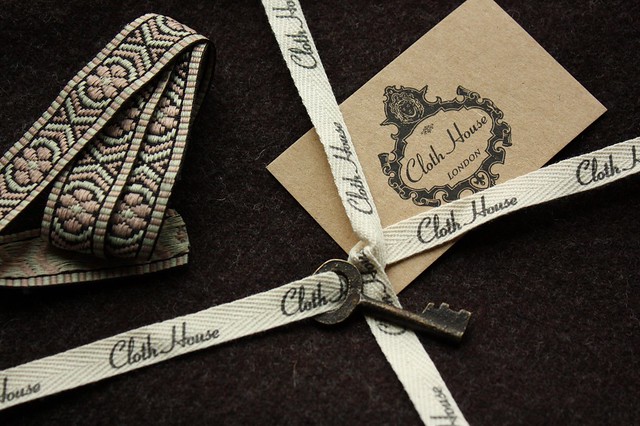
I bought my fabrics from the Cloth House in London. They have a beautiful range of materials and vintage trims to choose from. 

You will need:
Wool fabric
Cotton thread
Scissors
Pins
Sewing machine
Embroidery thread/needle
Trim
Paper
Iron

found & sewn

Step 1: Make the template:

found & sewn

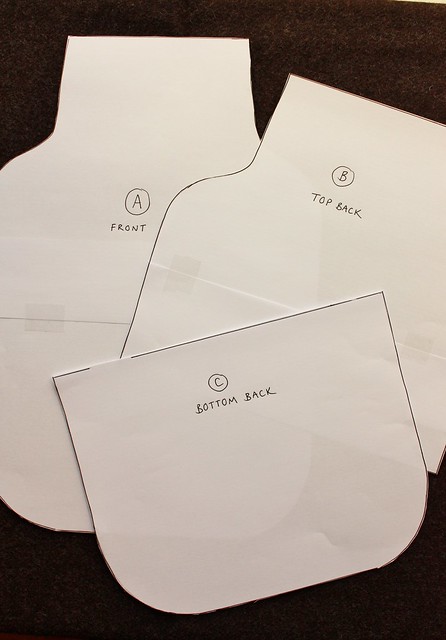
Make a paper template by tracing around your hot water bottle, adding an extra 6cm (approx) all the way round, this allows room for filling your cover with the hot water bottle and seam allowance. Make three copies of this same template. The first (A) will be the front. The second (B) cut off the bottom by 12cm to create the back top template. The third (C) cut off the top by 17cms to create the back bottom template. These two pieces will make up the back opening of the cover.

Step 2: Cut out your patterns:
found & sewn

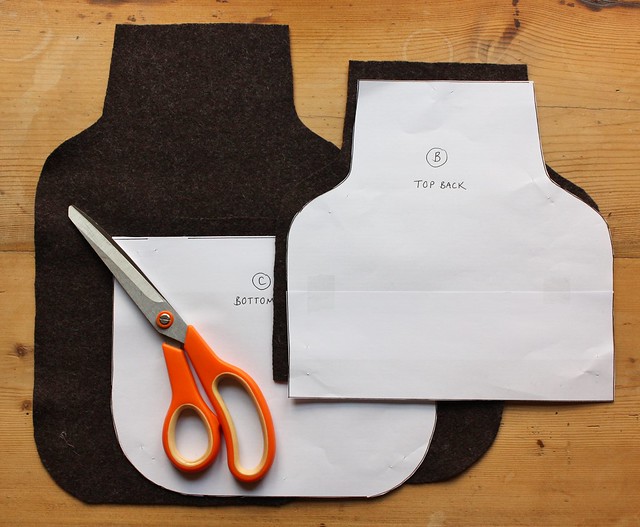
Lay and pin your templates onto your wool - I've used this lovely aubergine brown wool from the Cloth House.


Cut out all three pieces. 

Step 3: Sew: 

found & sewn

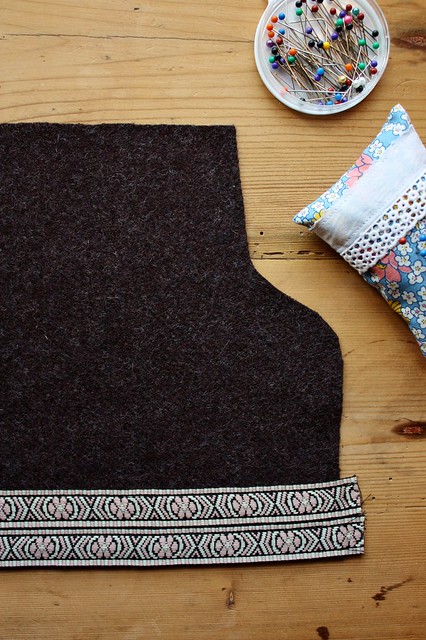
Press and pin a 1 cm fold along the straight edges of pieces B and C.

Sew down these folds.

On the front edge of piece B sew on your trim. 

Step 4: Sew together:

Place piece (A) front side facing up, then lay  (B) on top and then lay piece (C) on top of (B) facing down with right sides together and  all outer edges aligned. Pieces (B) and (C) should overlap by about 3/4cms.

This will become the opening of the cover.

Pin all the edges together.

Sew the layers together around the pinned edges with a ½ cm seam allowance.

Out of the curved sections cut little notches and snip off the corners for a neat edge when turned out.

Turn the entire piece inside out by using the opening.

Press the piece flat.

Step 5: Embroider:

found & sewn

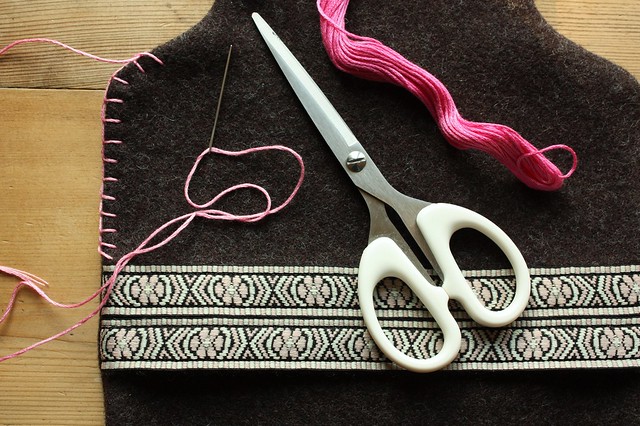
I've used a contrasting pink embroidery thread which looks great with the wool I've chosen.

Using the embroidery thread sew around the edge of the cover using a blanket stitch. Make sure you sew through all the layers. Don't worry if this isn't perfect, it all adds to the handmade charm.


Your hot water bottle cover is now ready to use.  Simply fill your hot water bottle and insert it into the opening. 

found & sewn

found & sewn

Have a go at this project and share your pictures. Just tag your photos on Instagram with the hashtag #BThoughtful_Makes and the user names @btreeclothing and @foundandsewn. 

Friday, 22 May 2015

tote bag tutorial & a seasonal recipe

found & sewn

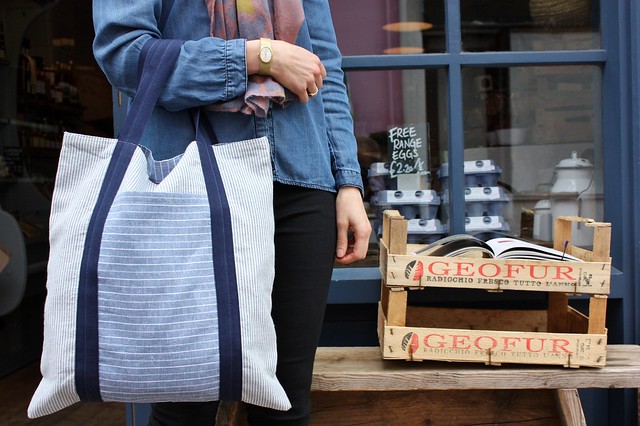
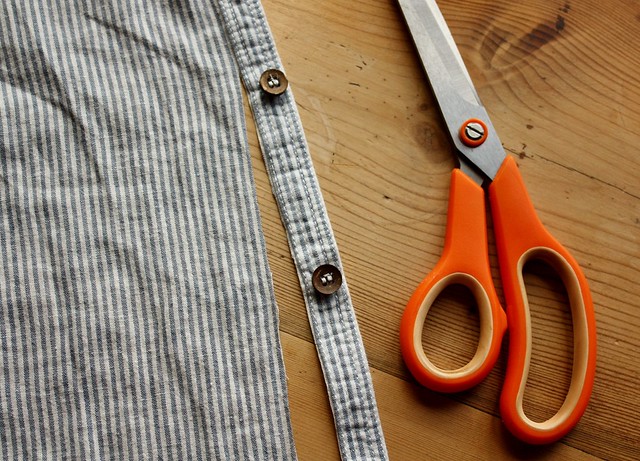
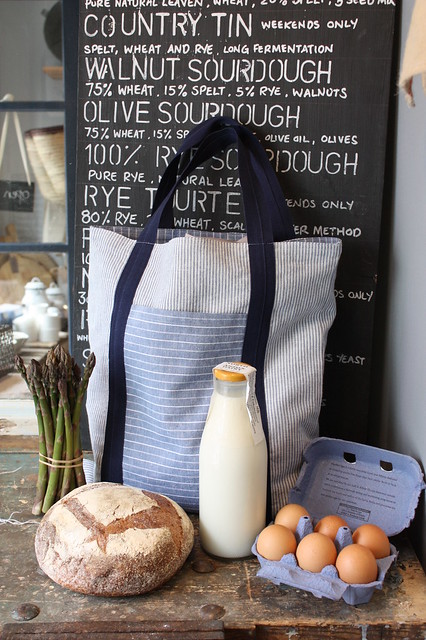
I love shopping at my local farmers market and produce store, so I thought my next sewing tutorial for BraintreeClothing would be a classic tote bag, perfect for filling up with seasonal goodies.

Braintree kindly sent me two lovely striped men's shirts to upcycle into this tote bag. You could of course use any fabrics new or old.

found & sewn

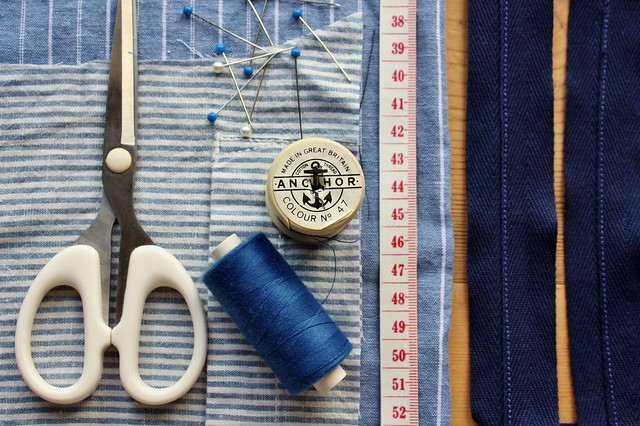
Materials:
Fabric (I’ve used two different striped linen shirts)
Cotton webbing  (Navy 2 lengths 3 x 122cms)
Cotton thread (cream & navy)
Sewing machine
Scissors
Pins
Tape measure

found & sewn

How to: 
To start with, cut out your pattern pieces.
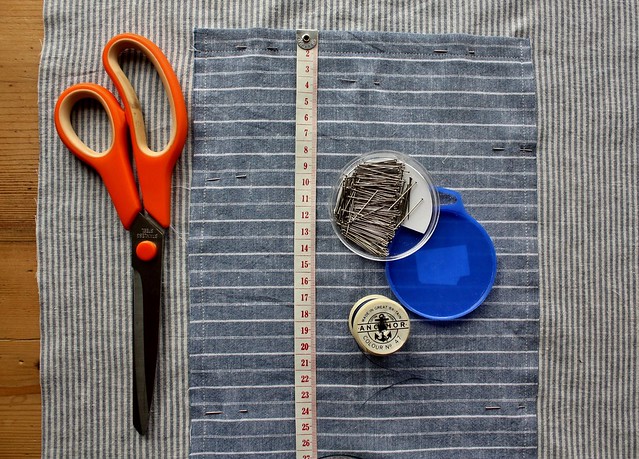
You will need two body pieces (pale stripes)  41 x 46cm , two lining pieces
(dark stripes) 41x 46 cm and 2 pocket pieces, 21 .5 x 35 cm.
I've cut my fabric out of two men's shirts, using the front, back panels and sleeves.

Hem the top of the body and lining pieces by folding down the top (short) edge by 2cm, Iron and sew along the top, repeat this with the two pockets.
found & sewn

Sew on the pockets.
Centre your pockets by Ironing the two body pieces in half lengthways, do the same with the two pockets. Open out  a body piece and lay the pocket  on top, matching up the creases and bottom raw edges.  
Pin and sew on the pocket, leaving the top open. Repeat on the second body piece.

found & sewn

Sew on the handles.
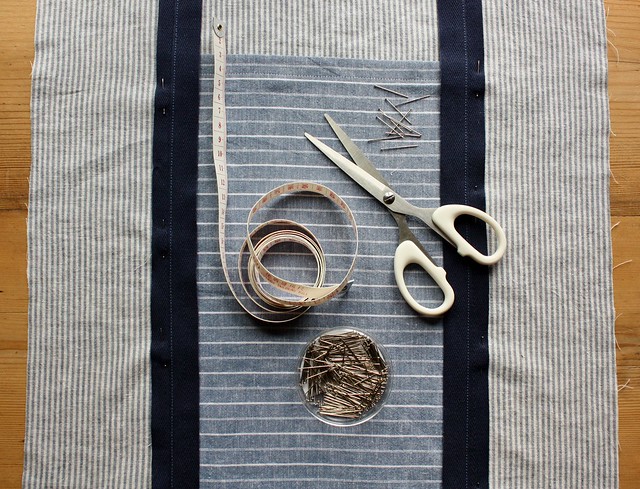
Take one length of webbing  (122 cm) and with the body piece facing up, align the webbing to the bottom raw edge, keep the webbing straight and cover the pocket seam until you reach the top, pin as you go. At the top make a loop for the handle (40cm appox) making sure you don't twist the webbing, carry on down the other side to the bottom raw edge.

With everything in place sew around all sides of the webbing attaching it to the fabric.
Repeat on the second body piece.

found & sewn

Sew the bag together.
With the body pieces face to face, match up the handles and the edges, pin it all together and sew around the three raw edges.  
Turn inside out and with an iron press sides and corners.

found & sewn

Lining
Put the two lining pieces face to face, neat hem at the top. Pin and sew around the raw edges.
(Do not turn out.) Insert the lining in to the bag, matching up the side seams, to attach the lining pin along the top and sew around the opening.

Give your new tote a press and you're ready to shop...

Remember to share any of your makes with us by uploading your images to Instagram including the hashtag #BThoughtful_Makes


found & sewn


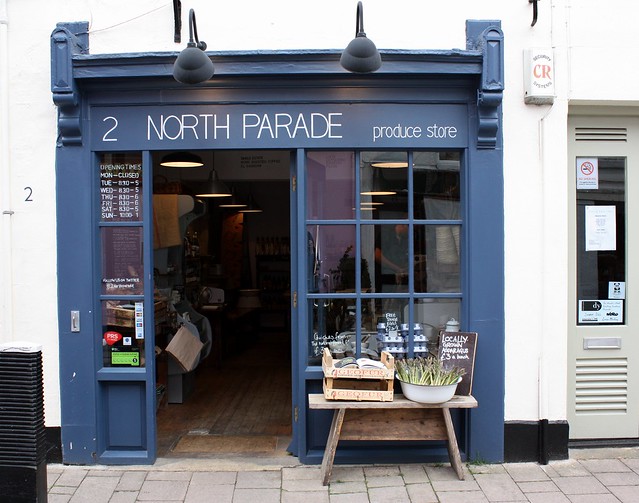
This is 2 North Parade Produce Store in Oxford. Co-owned by my boyfriend Pete.
 'We work closely with local farmers, producers and suppliers who focus on the quality, integrity and provenance of their produce. Giving the customer the fresh taste of every season and the best artisan foods for your table'

found & sewn

I asked Pete to share his favourite seasonal recipe..

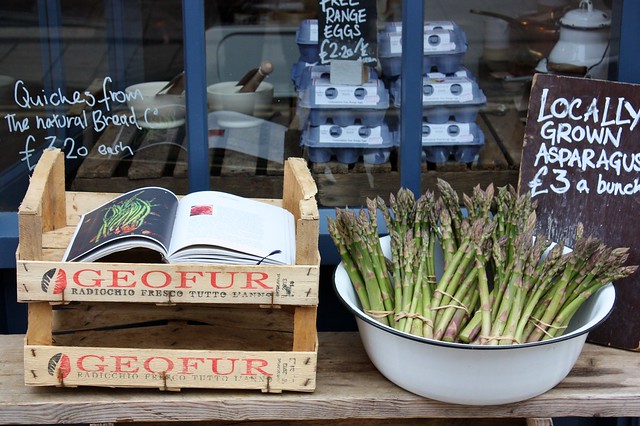
At the moment it's the asparagus season, we have freshly picked local asparagus delivered to the shop every morning, it's fresh, delicious and makes a great, quick, seasonal supper.

There are so many great ways to eat asparagus; with homemade hollandaise, butter and lemon, in a risotto, tossed in a mixed salad with mozzarella, but my favourite is the fresh, rich, salty contrast of asparagus, eggs and bacon.

found & sewn

Asparagus soldiers with soft boiled eggs.

You will need:
12 medium asparagus stalks, woody ends removed
12 slices of thinly sliced pancetta or bacon
olive oil
free range eggs
sea salt and pepper

Preheat the oven to 220C. Wrap your asparagus stalks in the pancetta (or bacon) with the tips poking out, and place in a roasting pan. Drizzle with a little olive oil and roast in the oven for 10 mins, until crispy.

While the asparagus is cooking, Carefully place the eggs into lightly salted boiling water, for 5 minutes, drain, cut off the lids and put them in egg cups. 
Serve with a good pinch of salt and pepper.

Dunk your asparagus soldiers into the soft egg and enjoy.

Tuesday, 14 April 2015

braintree clothing: beaded lace brooch tutorial

found & sewn

I’m very excited to let you know that I will be working with Braintree Clothing and regularly contributing to their Bthoughtful blog.

Braintree Clothing is a natural clothing company born in Sydney, Australia and now based in London. It's an independent fashion label with a simple philosophy to design and make beautiful timeless fashion while caring for our environment.

I will be sharing a range of ‘makes’ and sewing tutorials, from handmade gifts & accessories to items for the home.


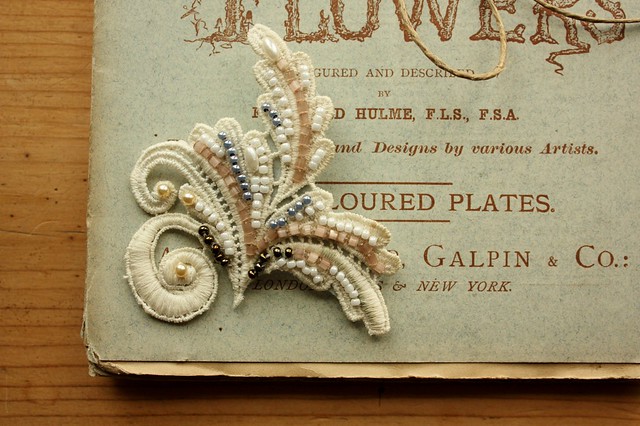
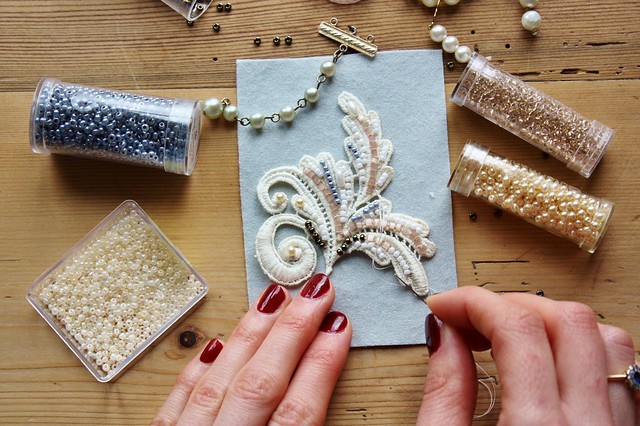
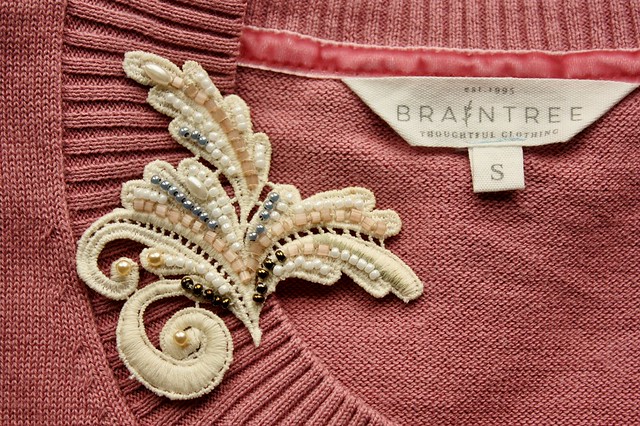
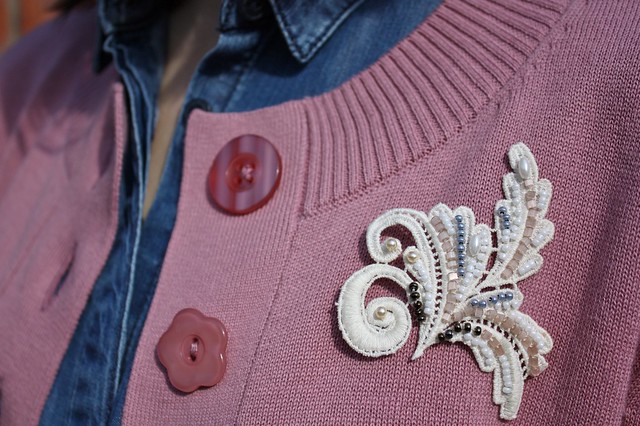
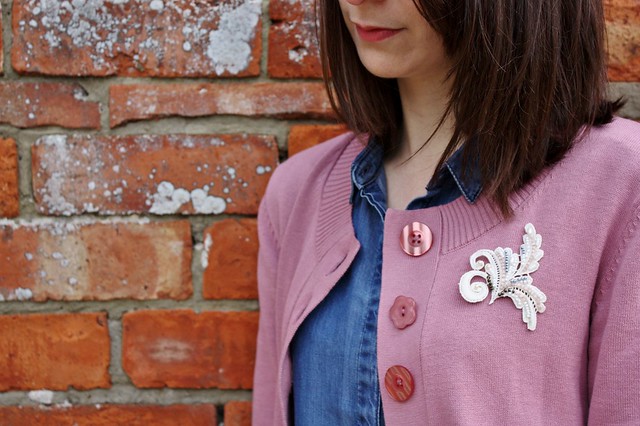
So for my first tutorial I thought it would be nice to make one of my beaded lace brooches. Perfect for brightening up a cardigan, jacket or jumper for Spring.

found & sewn
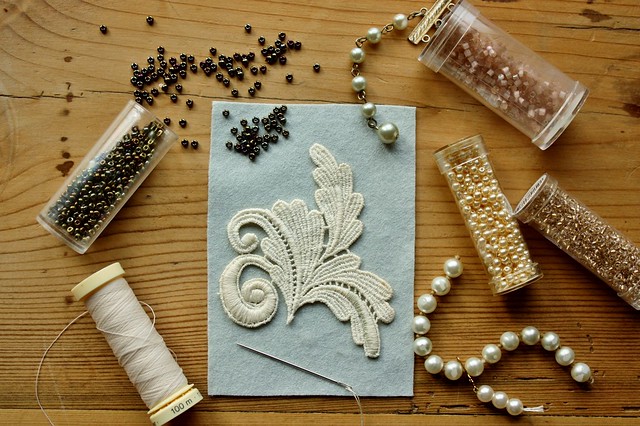
YOU WILL NEED:

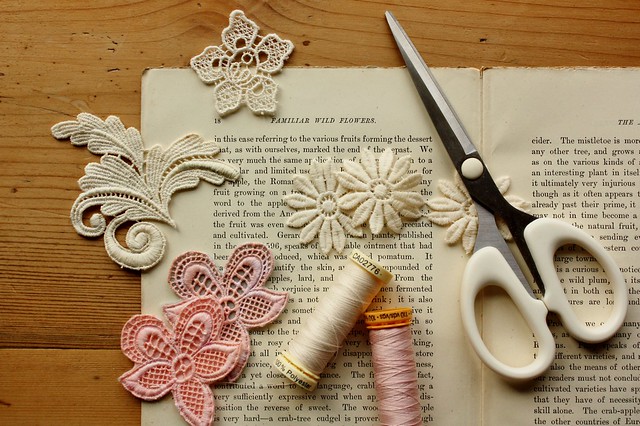
  • Crochet or Lace motifs (available from most good haberdasheries)
  • Beads of different sizes and colours
  • Cotton thread
  • Felt
  • Brooch pin

EQUIPMENT:
  • Needle
  • Scissors
  • Clear fabric glue


HOW TO:

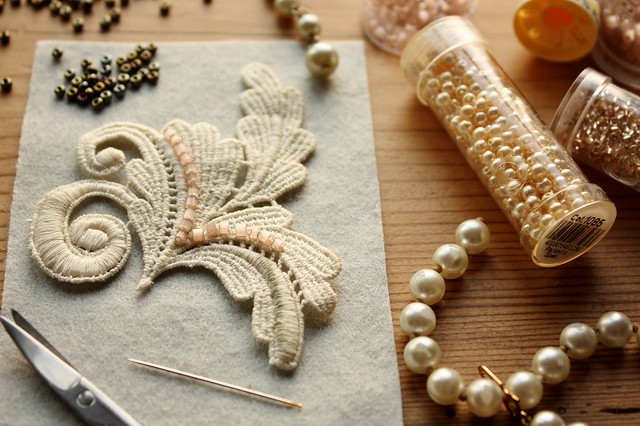
STEP 1 - Once you have chosen your crochet/lace motif start hand sewing your chosen beads on to the lace.
found & sewn

You could also use beads from old necklaces, sequins and buttons. Make it as simple or as elaborate as you like.
found & sewn

I’ve gone for a vintage look, using dusky pink, bronze, grey and white seed beads with a few faux pearls.
found & sewn

STEP 2- Once you have finished all the beading, trace around your motif and cut the felt to the same shape. Now glue the felt to the back of the brooch. (The felt may show through the lace, so choose a colour to match your beads.)
found & sewn 

STEP 3-  Sew a brooch pin on to the back and finish by gluing a small piece of felt over the brooch pin back for a neat finish and it's ready to wear.
found & sewn

Step 4- Pin your handmade brooch on to your Spring jacket, jumper or cardigan and off you go....

found & sewn
found & sewn

If you'd like to join in with any of my projects or share what you have been making, just upload your image to Instagram including the hashtag #.BThoughtful_Makes
I'd love to see what you have been making...

    Friday, 5 December 2014

    grey skies & festive bunting

    festive bunting

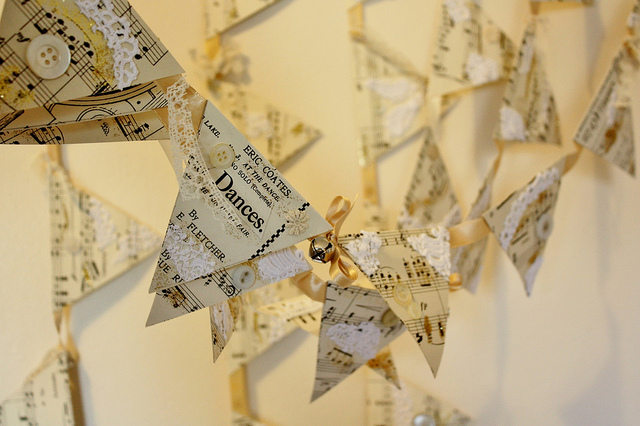
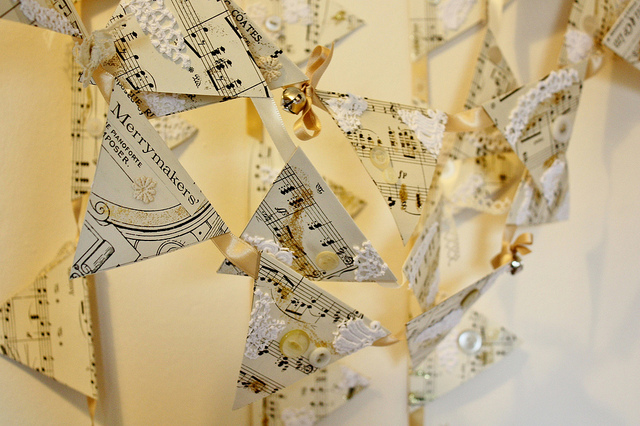
    Hello! How are you all...feeling festive yet? It's an icy cold day here in Oxford, the sky has been a bright sheet of grey all day, but I kind of like it. Winter is here. 

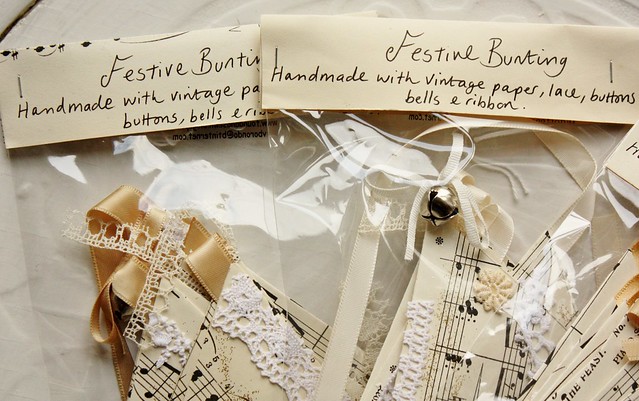
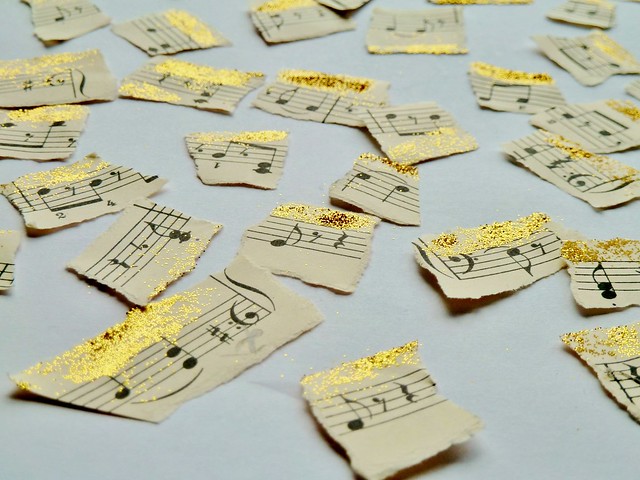
    If you have been following me on twitter you may have seen that I've been making more of my Festive Bunting. Sewing and sticking beautiful pieces of vintage sheet music, lace, antique buttons, silver bells, glitter and silky ribbons. 

    They look really pretty strung up over mantle pieces, windows and mirrors to add a bit of vintage charm.

    I have a few for sale in my Folksy Shop and I can also give you a special code for 10% OFF purchases. Just add the word: sewingroom at the checkout.

    I'm planning on making spiced ginger bread biscuits for Christmas gifts this year, I've got my tree biscuit cutter and I'm very excited about making handmade packaging to put them in. I just need an easy recipe..so if you have a family, tried and tested ginger biscuit recipe I would love to know. 

    Keep cosy and warm x 

    festive buntingfestive bunting

    festive bunting

    festive bunting

    Friday, 19 September 2014

    vintage florals - shop update

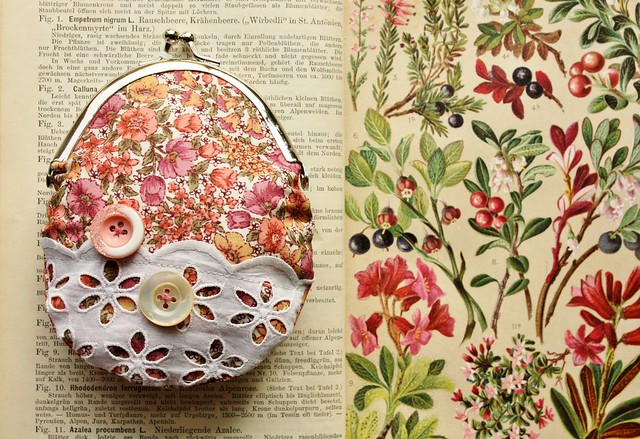
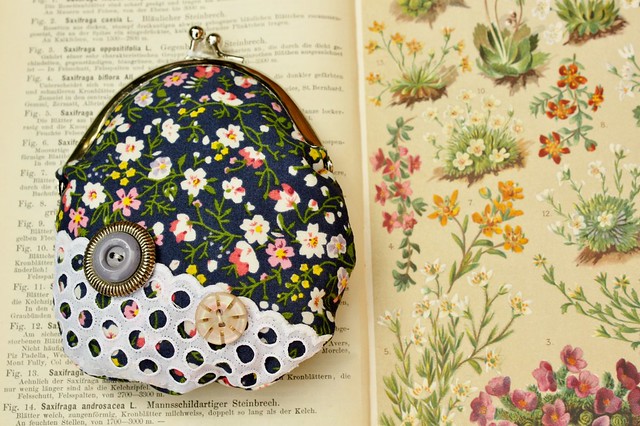
    floral coin purse


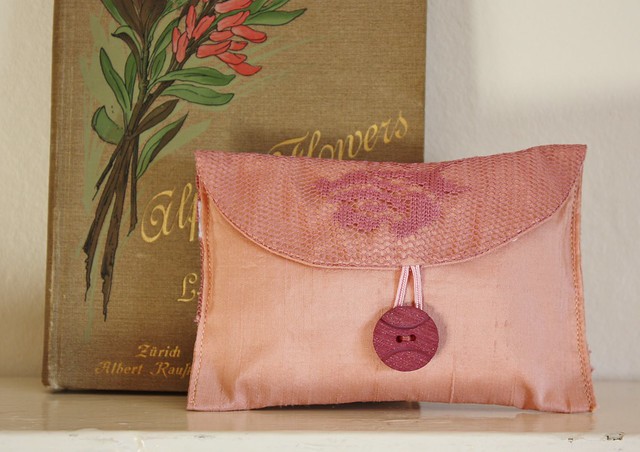
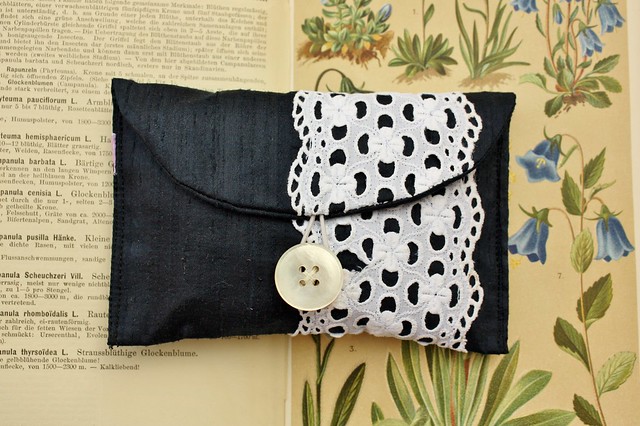
    I've been having fun this week, setting up these little photo shoots of my work. My mum found this vintage book on alpine flowers in a charity shop and it's made the prefect backdrop for my handmade purses.
    It's a beautiful book, I love how the flowers, berries and leaves on each page match the colours in the fabrics I have used.

    All these pieces are now for sale in my Folksy Shop, which I have been updating over the last few days. I'd love to know what you think?

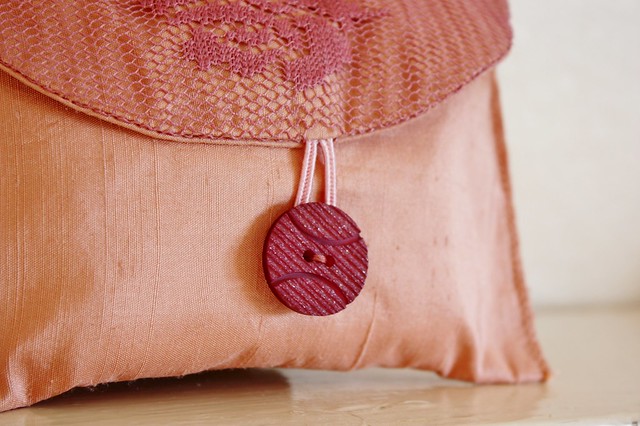
     pink silk purse
    pink silk purse


      navy silk purse


    floral coin purse


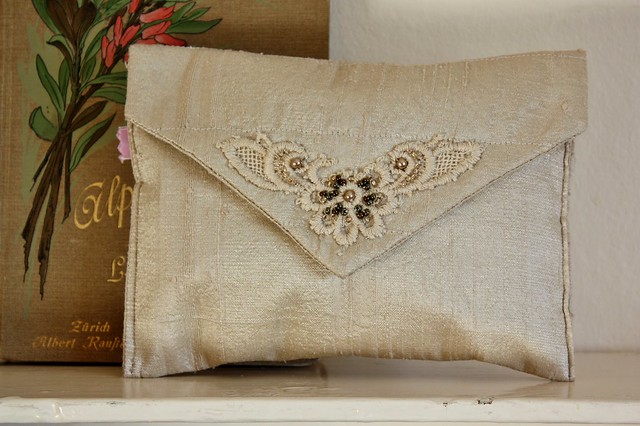
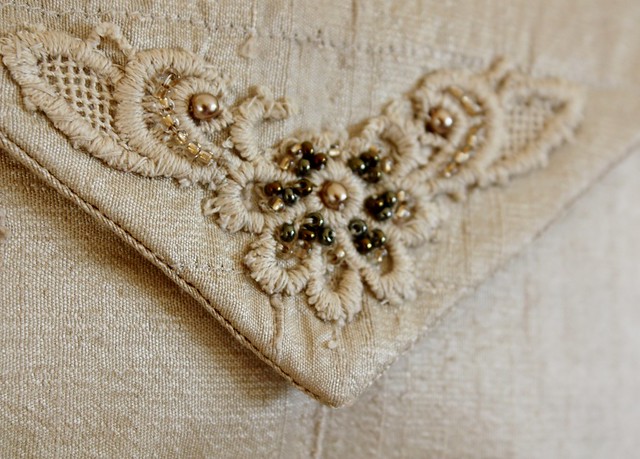
    bronze envelope purse bronze envelope purse


    This bronze silk envelope purse is one of my favourites. I've been saving the vintage lace flower motif for something special, and when I found this beautiful bronze silk I thought it would be just right. I've embellished it with a few glass seed beads and pearls, I love the simplicity of this design. 

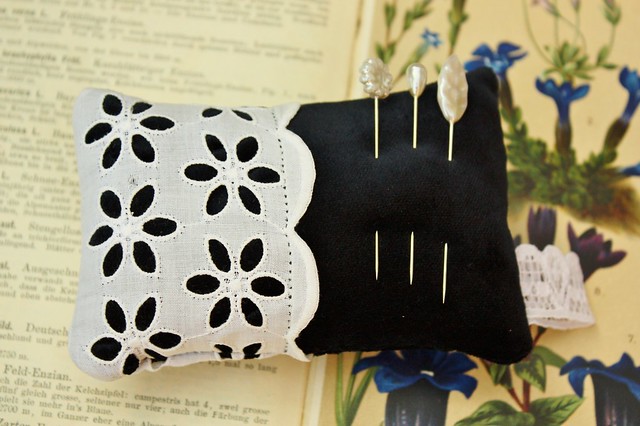
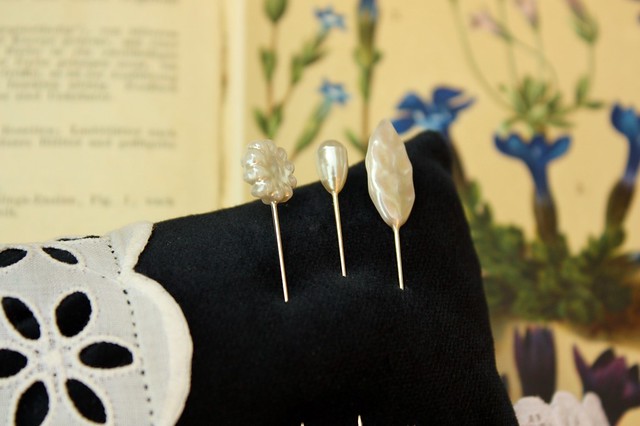
      velevet pincushionvelvet pincushion


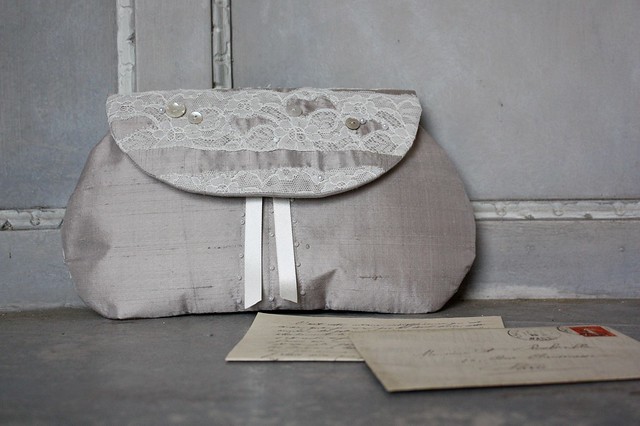
    Just to let you know, that my silver silk and vintage lace clutch purse has been featured in the online magazine 'UK Handmade', as part of their jewellery and accessories showcase which features gorgeous handmade products from designer/makers from across the UK, all very exciting.
    Have a lovely weekend....


    silver clutch purse

    Wednesday, 6 August 2014

    summer bunting

    Untitled

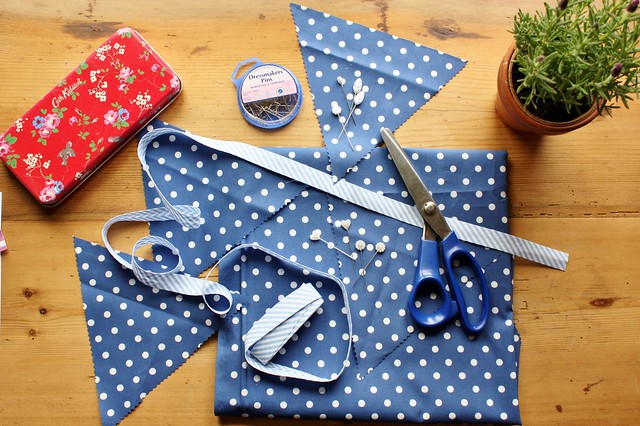
    I've been in my sewing room, making lengths of spotty bunting for a garden party we are having for my grandparents. It's their 70th wedding anniversary and to celebrate we have arranged a vintage tea party for them. 
    My mum and I have quite a selection of pretty vintage teacups, plates, teapots and handmade tablecloths which we are planning to use on the day.
    If you have visited my artweeks open studio, you will know what I mean..

    Untitled

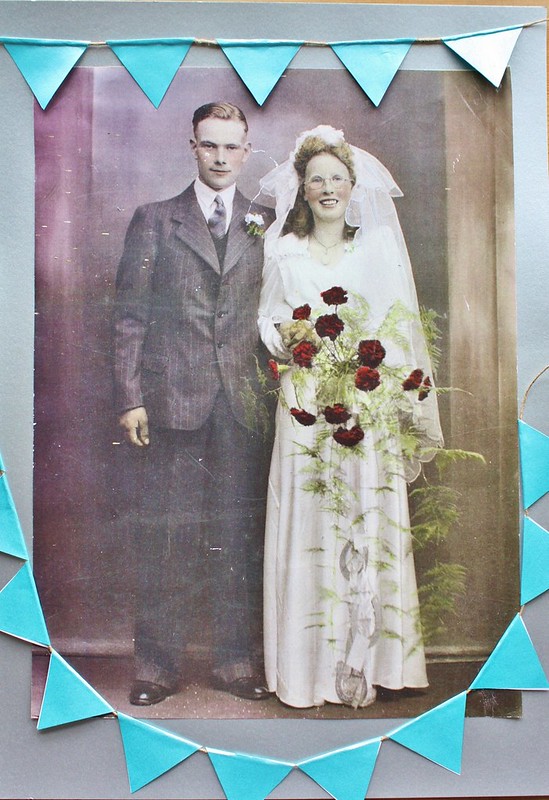
    I love looking through old black and white family photos and I found this tinted photo of them both on their wedding day back in 1944. My Grampy Fred looks very dapper and my Nanny Winnie looks so happy! Such a lovely photo. 

    Untitled

    Well, I still have more bunting to make before the party, so I had better get sewing...you can never have too much bunting!

    Untitled

    Untitled Untitled