I love
making Christmas gifts and decorations, using my time instead of money to sew,
bake or make unique handmade presents. They are always appreciated and beats
contending with the Christmas shopping rush every time.

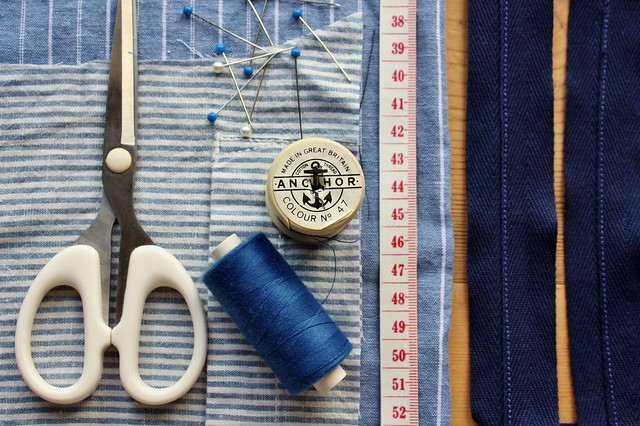
You will need:
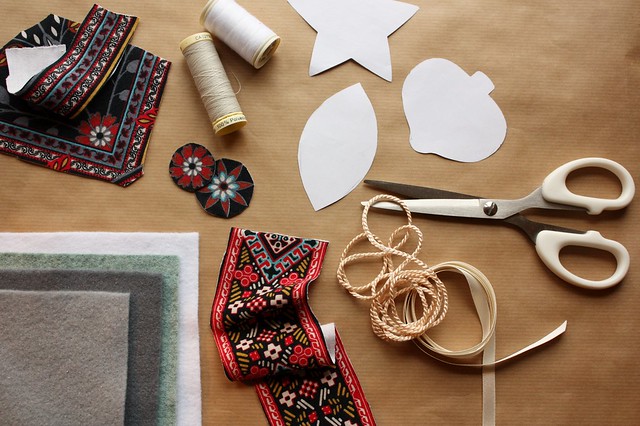
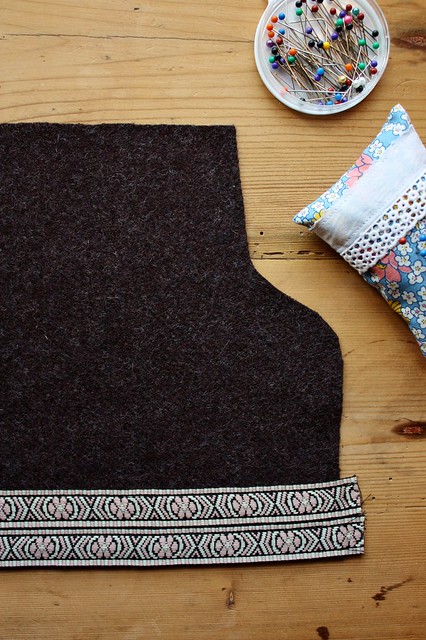
Felt
Fabric
scraps/buttons/beads etc..
Cotton
thread and needle
Ribbon or
cord for hanging
Toy stuffing
or cotton wool
Scissors
Pen and
paper
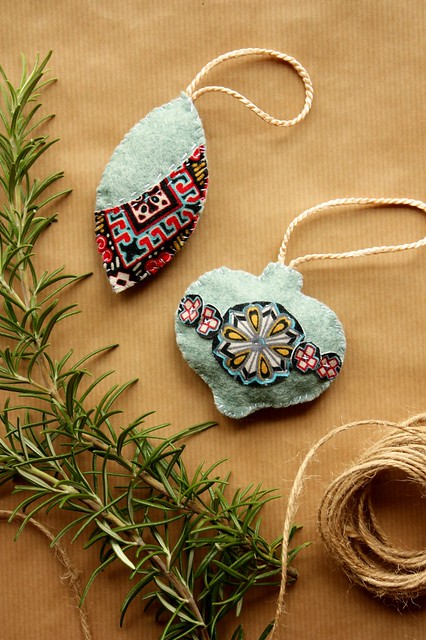
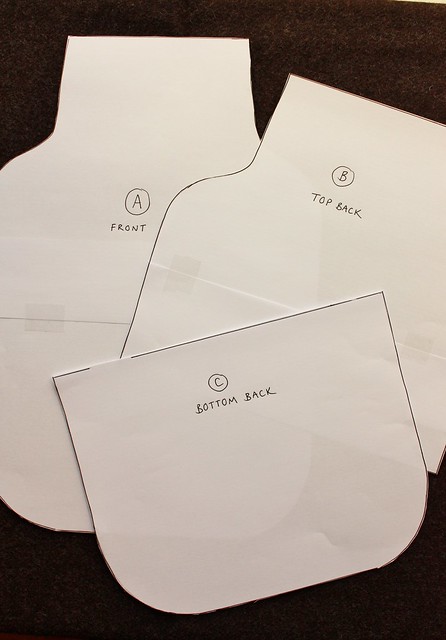
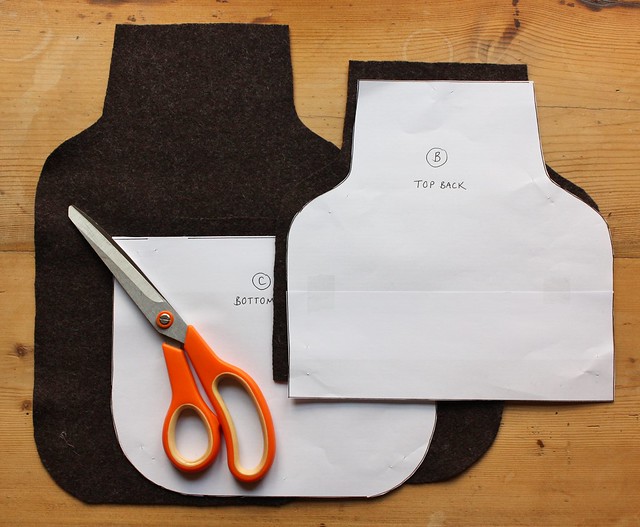
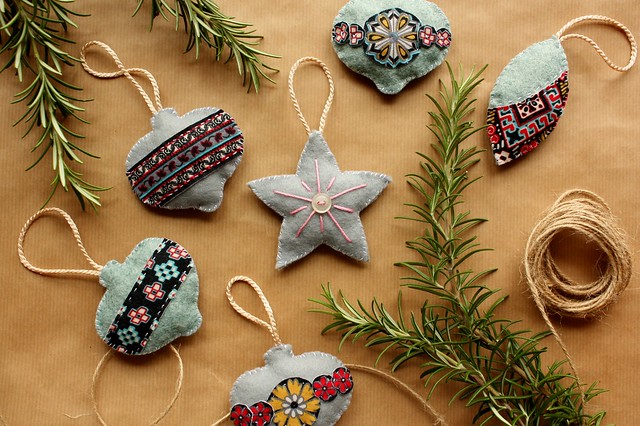
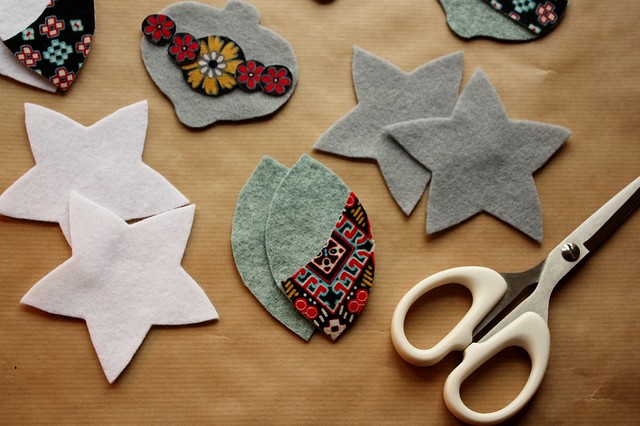
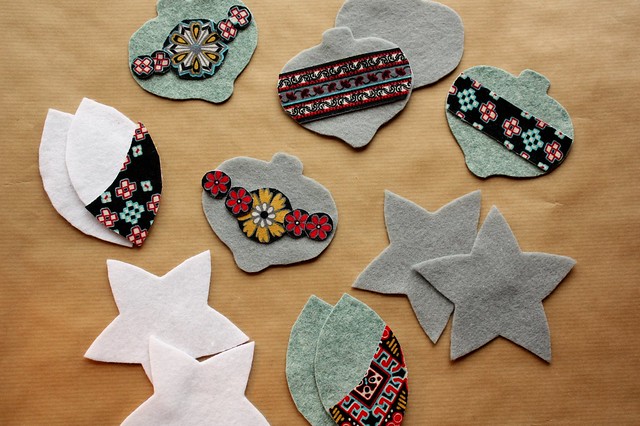
Step 1: Draw and cut: Draw out your Christmas decoration designs
on to paper. I have chosen a vintage bauble, drop and star.
Cut these
out and place on to the felt, mark around them in pen and carefully cut out 2
pieces for each decoration.
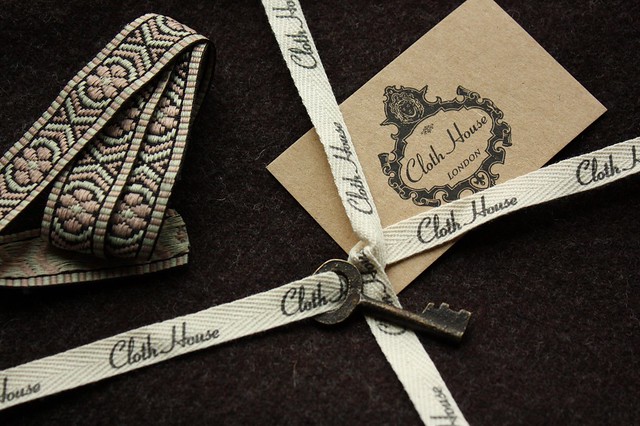
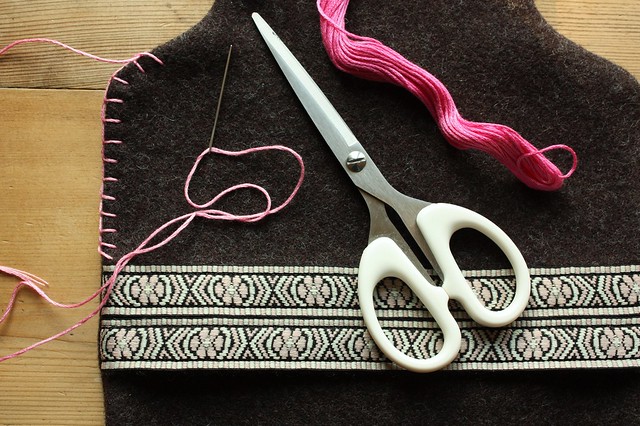
Step 2: Time to decorate. Take one piece of your felt decoration
and sew on any embellishment you like; off cuts of fabrics, embroidery threads,
buttons, beads and lace all look great.
I have used some fabric samples from The Braintree Clothing team and cut out motifs from the design to create a vintage bauble effect.
Step 3: Sew and Stuff. Lay your embellished felt side (front side up) on to an identical
plain piece, lining up the edges. Take a needle and thread and starting at the
bottom of the decoration, sew around the perimeter using a whip stitch. Make
sure the needle goes through both pieces of felt. I’ve use a contrasting white
thread so the stitches are part of the design. When you reach the top, sandwich
your hanging loop in between the two layers and stitch in place. Continue the
whip stitch until you reach ¾ inch from the point where you began stitching.
Stuff the
toy stuffing in the gap until the decoration is just padded but not too firm.
Close the gap with a few whip stitches.
Repeat with
the remaining felt pieces until you have enough to hang up on your tree or to
give as Christmas gifts.